Unreal Best Practices
UNREAL ENGINE 5.1 BEST PRACTICES
VR BEST PRACTICES:
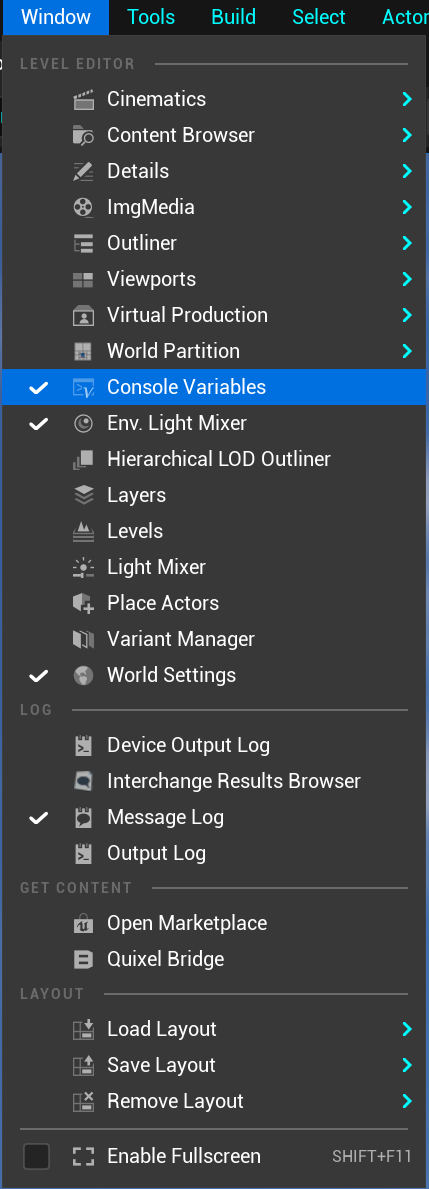
1.Use Console Variables Editor (experimental) from Plugins

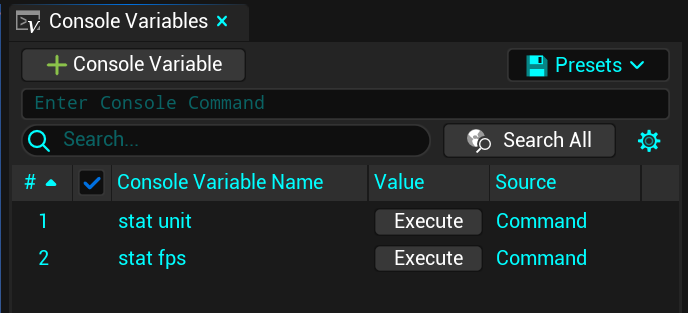
2.Useful VR Console Commands. You can use these settings as a starting point by copying them to your project’s Config/DefaultEngine.ini file under SystemSettings or in a new Console Variables Editor.
• vr.PixelDensity=1
• r.SeparateTranslucency=0
• r.HZBOcclusion=0
• r.MotionBlurQuality=0
• r.PostProcessAAQuality=3
• r.BloomQuality=1
• r.EyeAdaptationQuality=0
• r.AmbientOcclusionLevels=0
• r.SSR.Quality=1
• r.DepthOfFieldQuality=0
• r.SceneColorFormat=2
• r.TranslucencyVolumeBlur=0
• r.TranslucencyLightingVolumeDim=4
• r.MaxAnisotropy=8
• r.LensFlareQuality=0
• r.SceneColorFringeQuality=0
• r.FastBlurThreshold=0
• r.SSR.MaxRoughness=0.1
• r.rhicmdbypass=0
• sg.EffectsQuality=2
• sg.PostProcessQuality=0
3.Profiling VR Console Commands:
• Stat Unit
• Stat FPS
• Stat RHI
• Stat SceneRendering
• GPU = Ctrl + Shift + ,
• Stat GPU
• startfpschart/stopfpschart
• Stat Detailed
• ABTest (Value1) (Value2) e.g abtest r.VolumetricFog 0 1 to stop abtest stop
4.While previewing the project you can switch to camera mode to “fly” around the scene by typing the console command ToggleDebugCamera

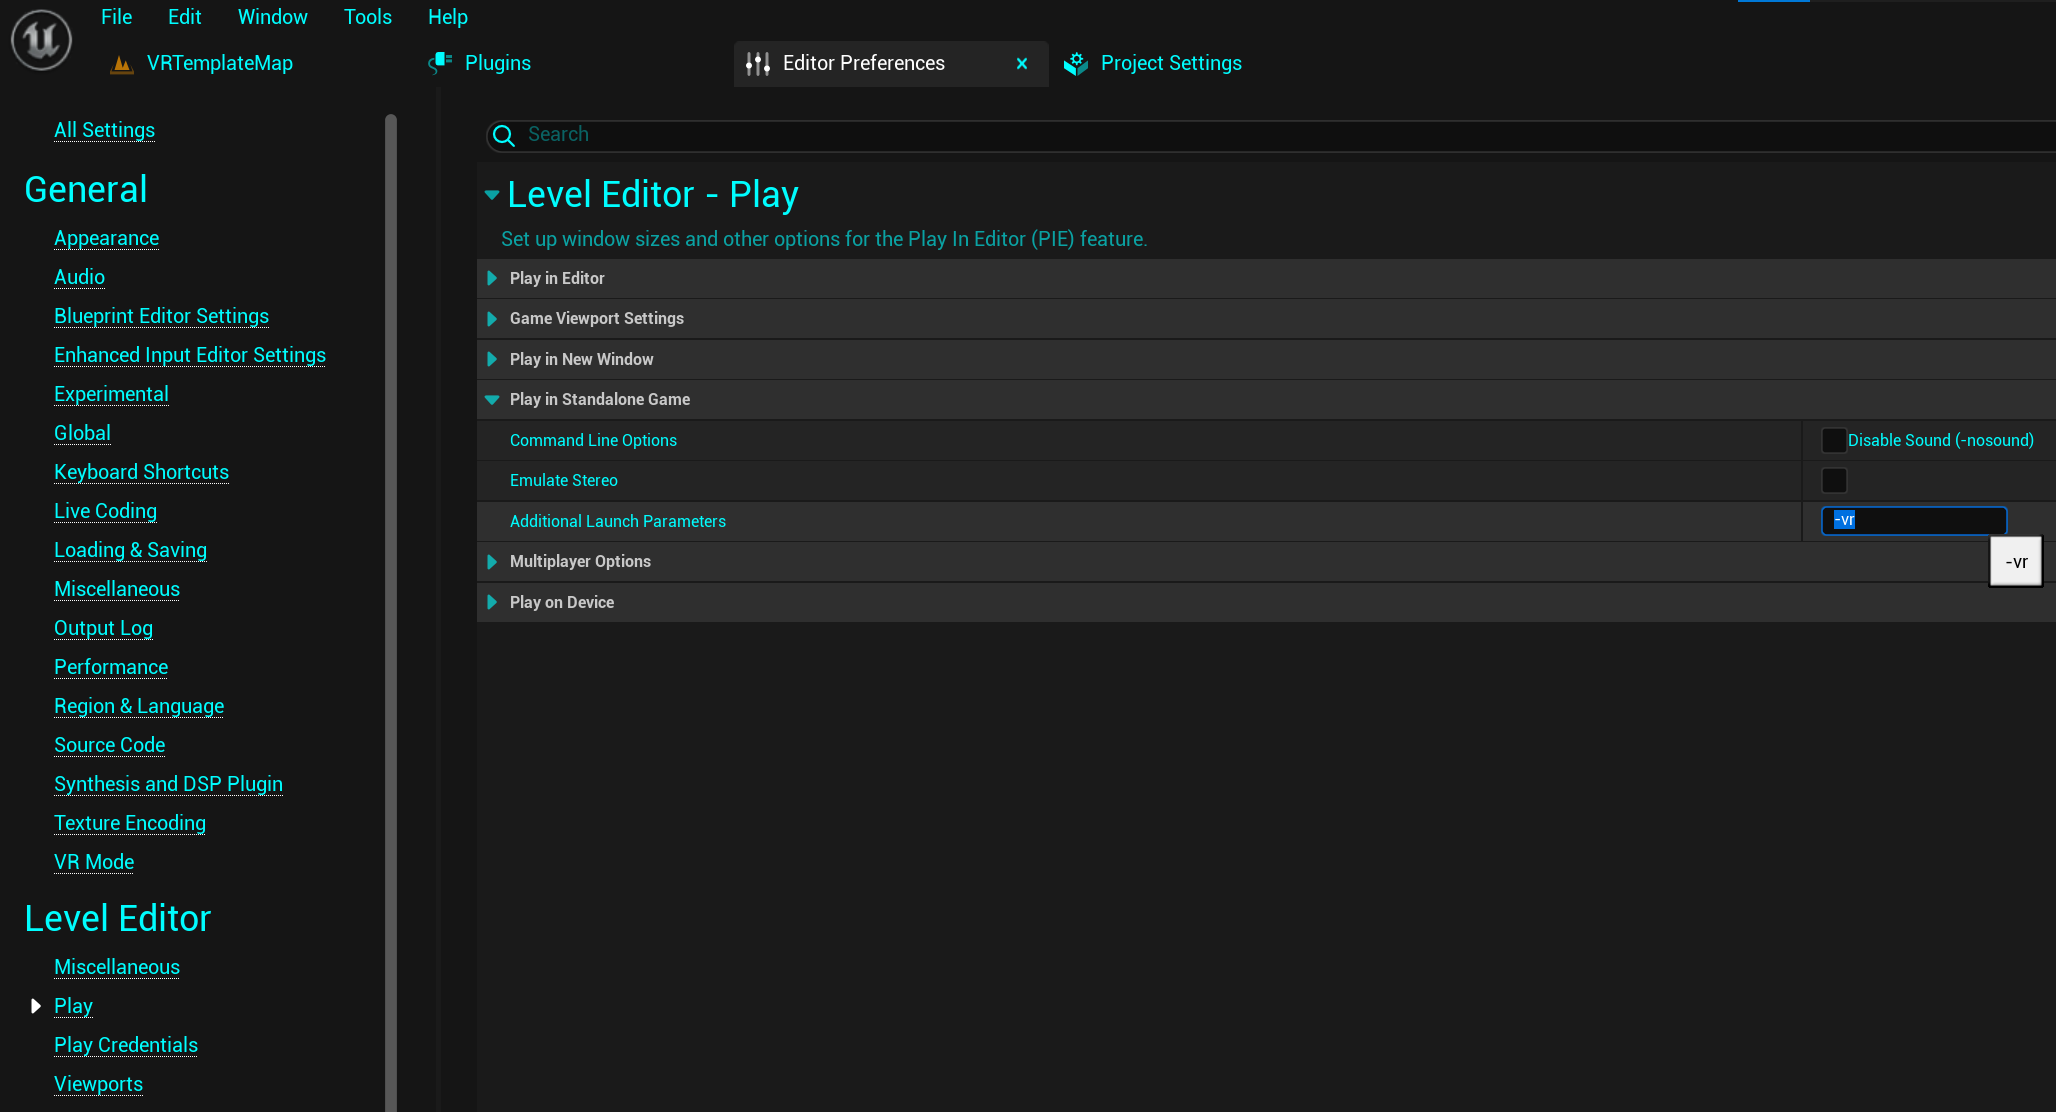
5.It is better to test/preview the unbuild project using Standalone Game method and not just the VRpreview
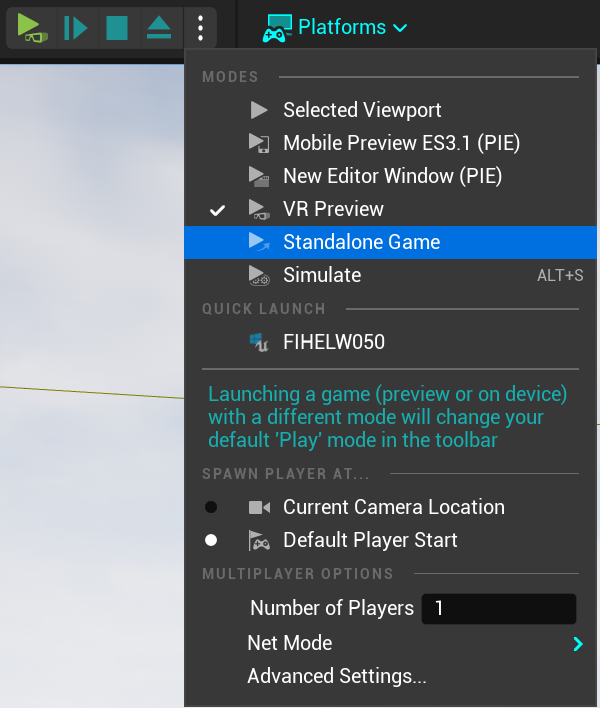
•To make it run in VR go to Editor - Preferences - Level Editor - Play in Standalone Game - Additional Launch Parameters and add -vr
6.VR Mode not supported by OpenXR but can be used with SteamVR plugin. For its full features enable Legacy editor UI mode
Optimization tips:
-Precomputed visibility and cull distances.
-LODs and HLODs.
-Instances to reduce draw calls (local clusters).
-Avoid large meshes.
-Merge similar actors (local clusters).
-Disable unused rendering features, e.g. Deferred decals.
-Dont use Event Tick when you dont need it.
GENERAL BEST PRACTICES:
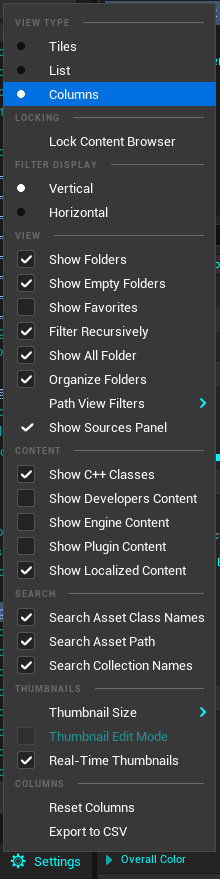
1.Use Columns view for more information about the assets in content browser.
The Columns view lays out all Assets with a spreadsheet-like arrangement of properties.
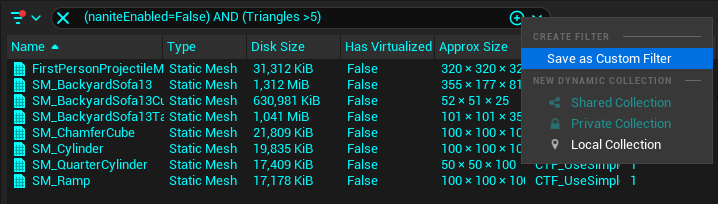
2.Use filters to select needed assets faster.
Filters and Collections are both ways to sort and group Assets inside the Content Browser.

3.Use Advanced Search Syntax and save it into Custom Filter.
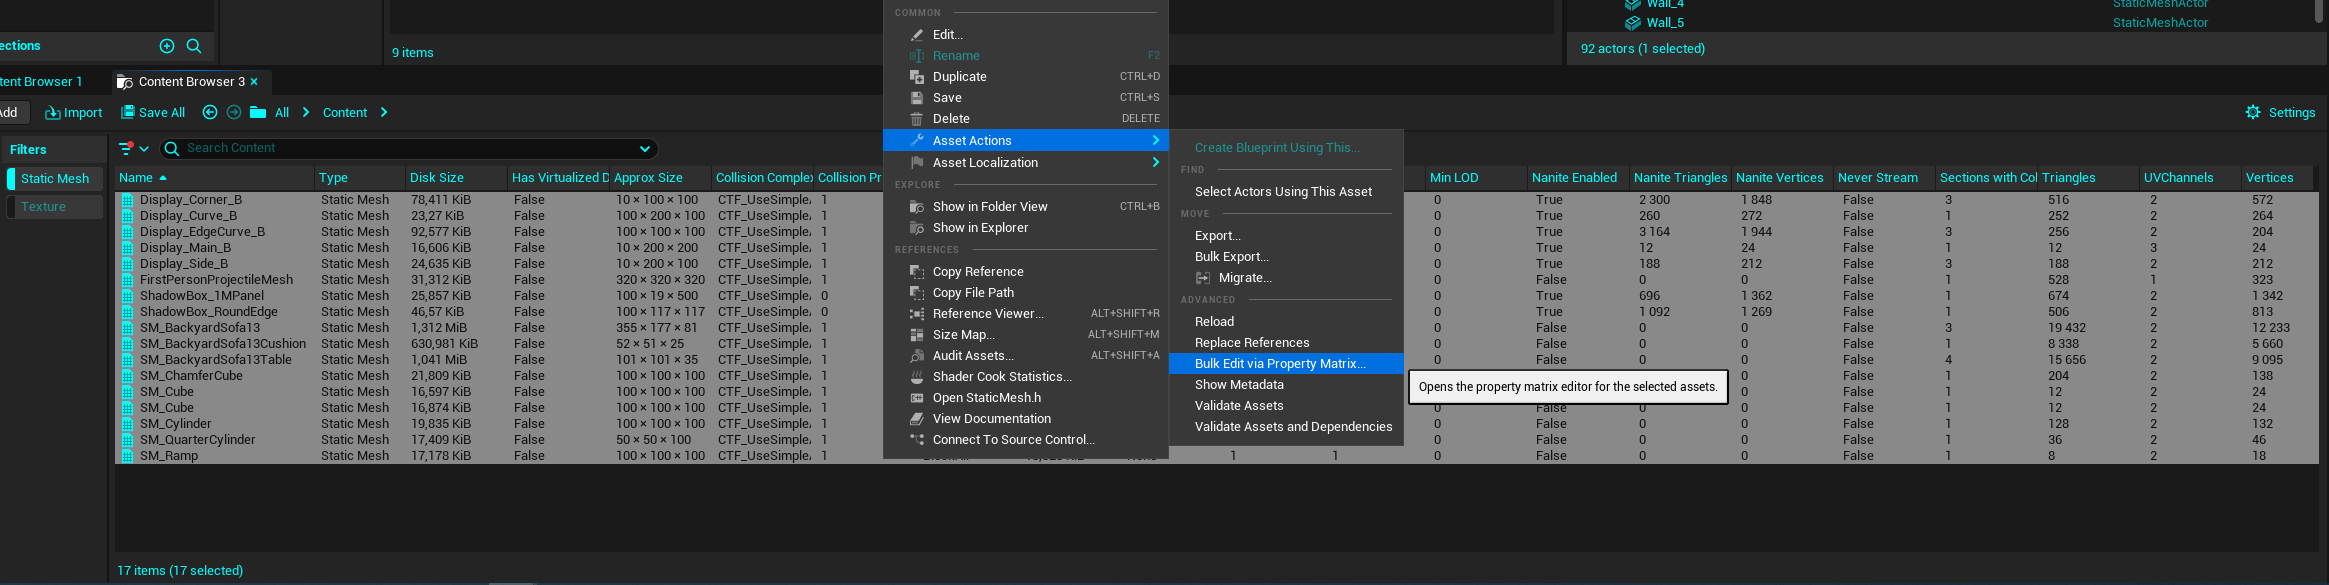
4.Use Bulk Edit via Property Matrix to change setting for a group of assets (Nanite,LODs, etc).
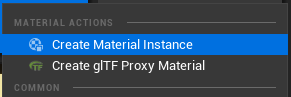
5.Use Master Materials and Material Instances
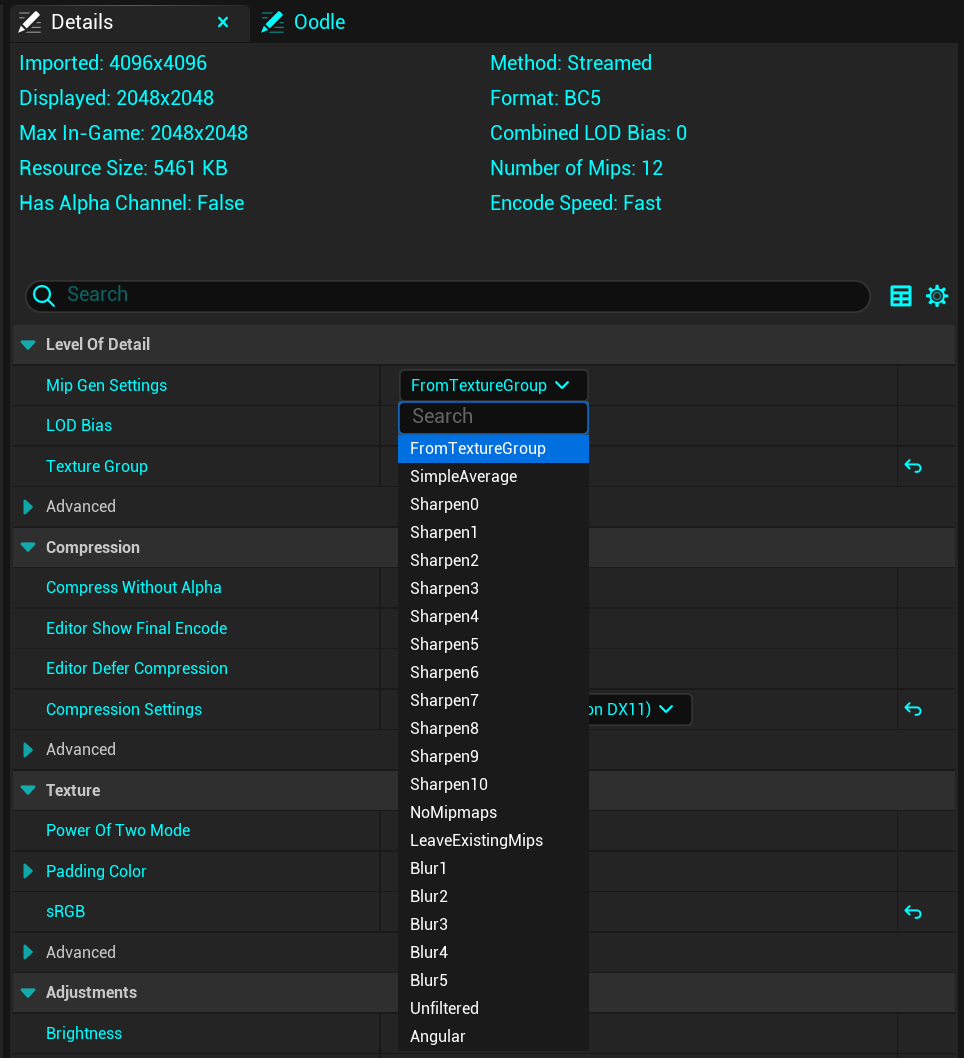
6.Textures should always be a power of 2 (128,512,1024,2048,4096)
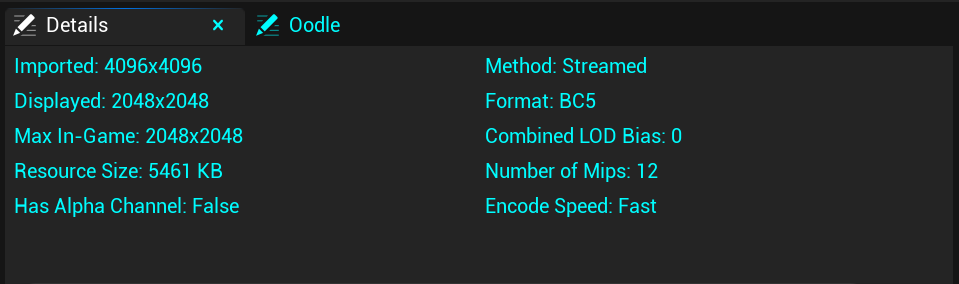
7.Use texture MIP Mapping
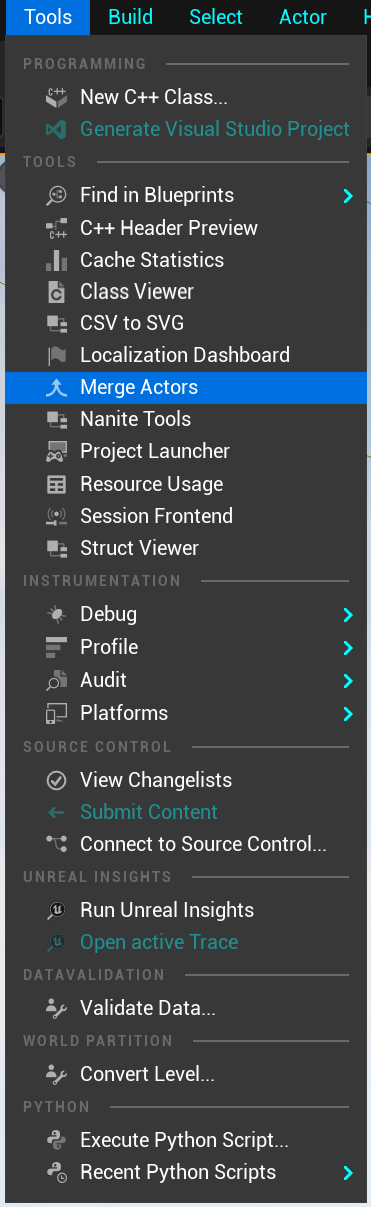
8.Use Merge Actor tool

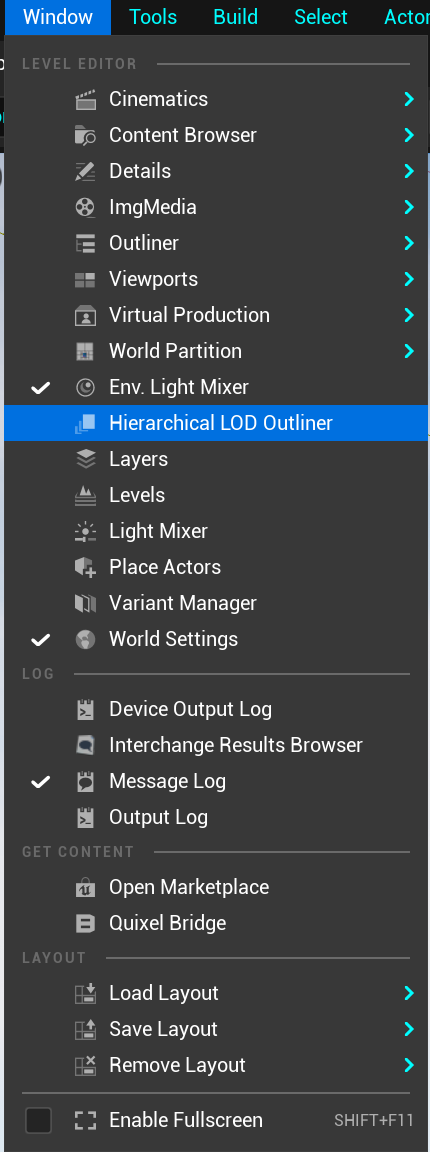
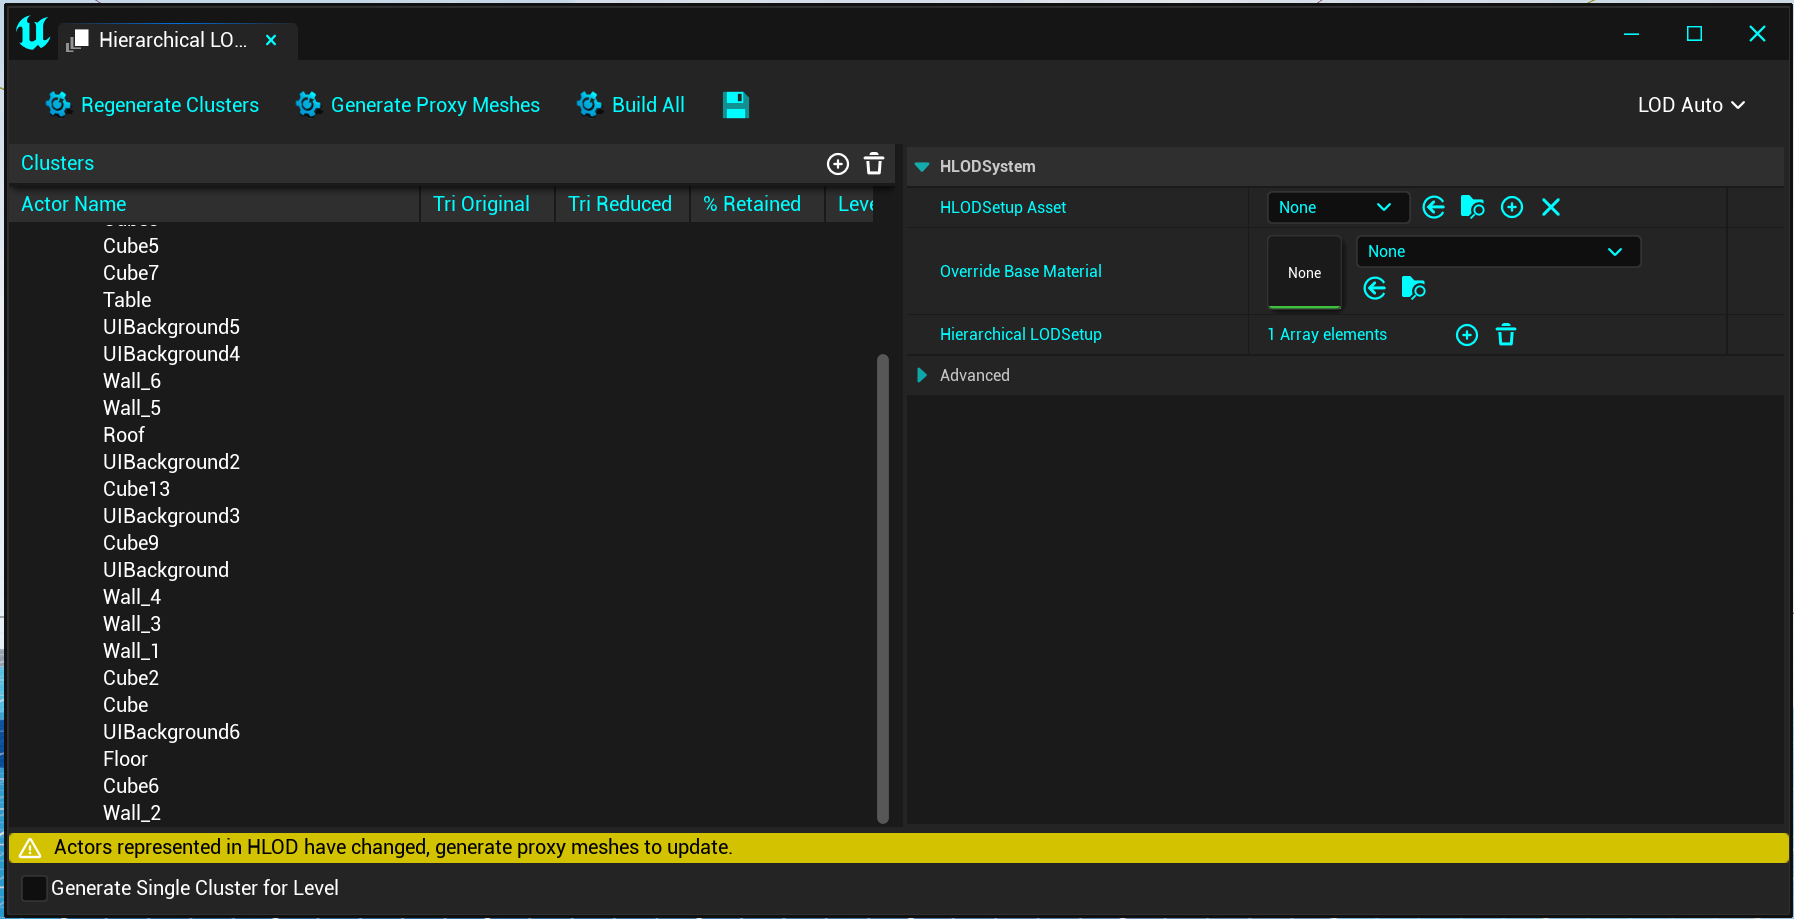
9.Use Hierarchical Level of Detail (HLOD) system as a way to increase performance while keeping the quality high.
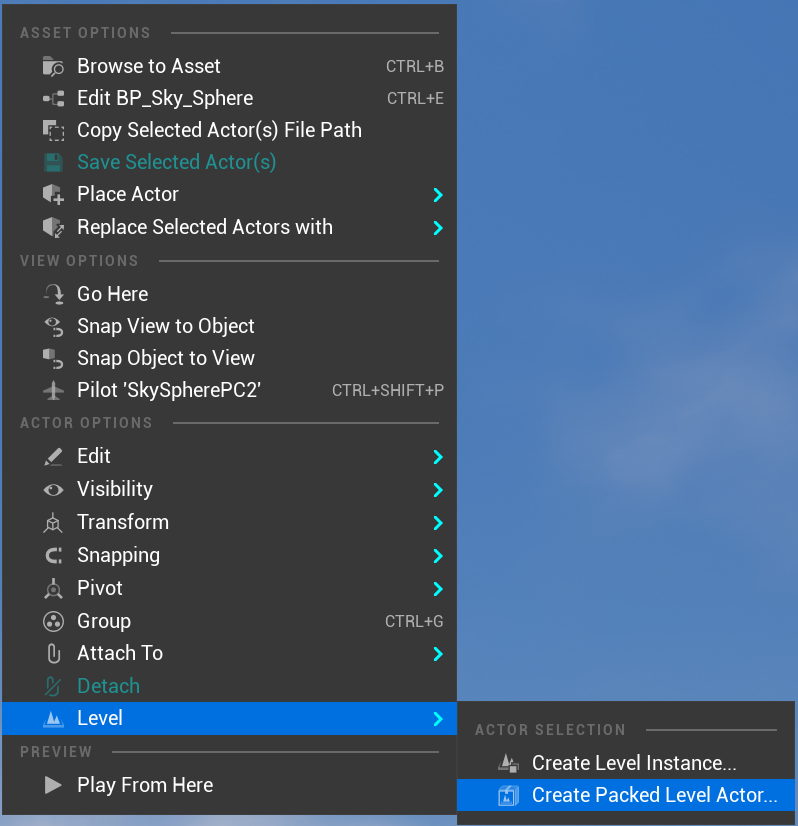
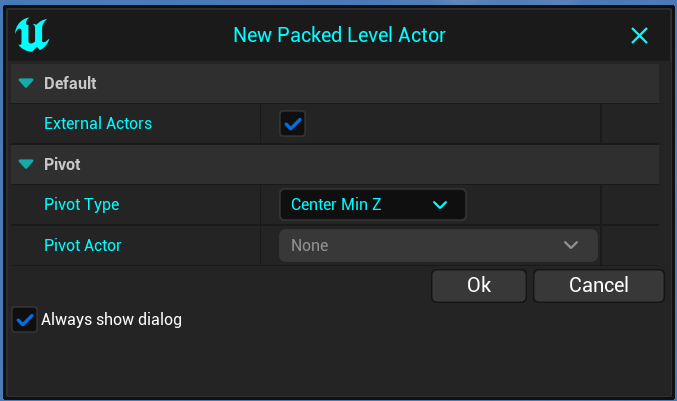
10.Use Packed Level Actor by selecting a group of actors - right clicking on them and sending them to separate level instance.
It groups a Levels static meshes into as few static mesh instances as possible.
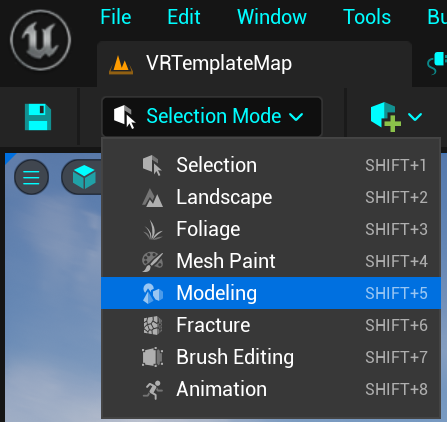
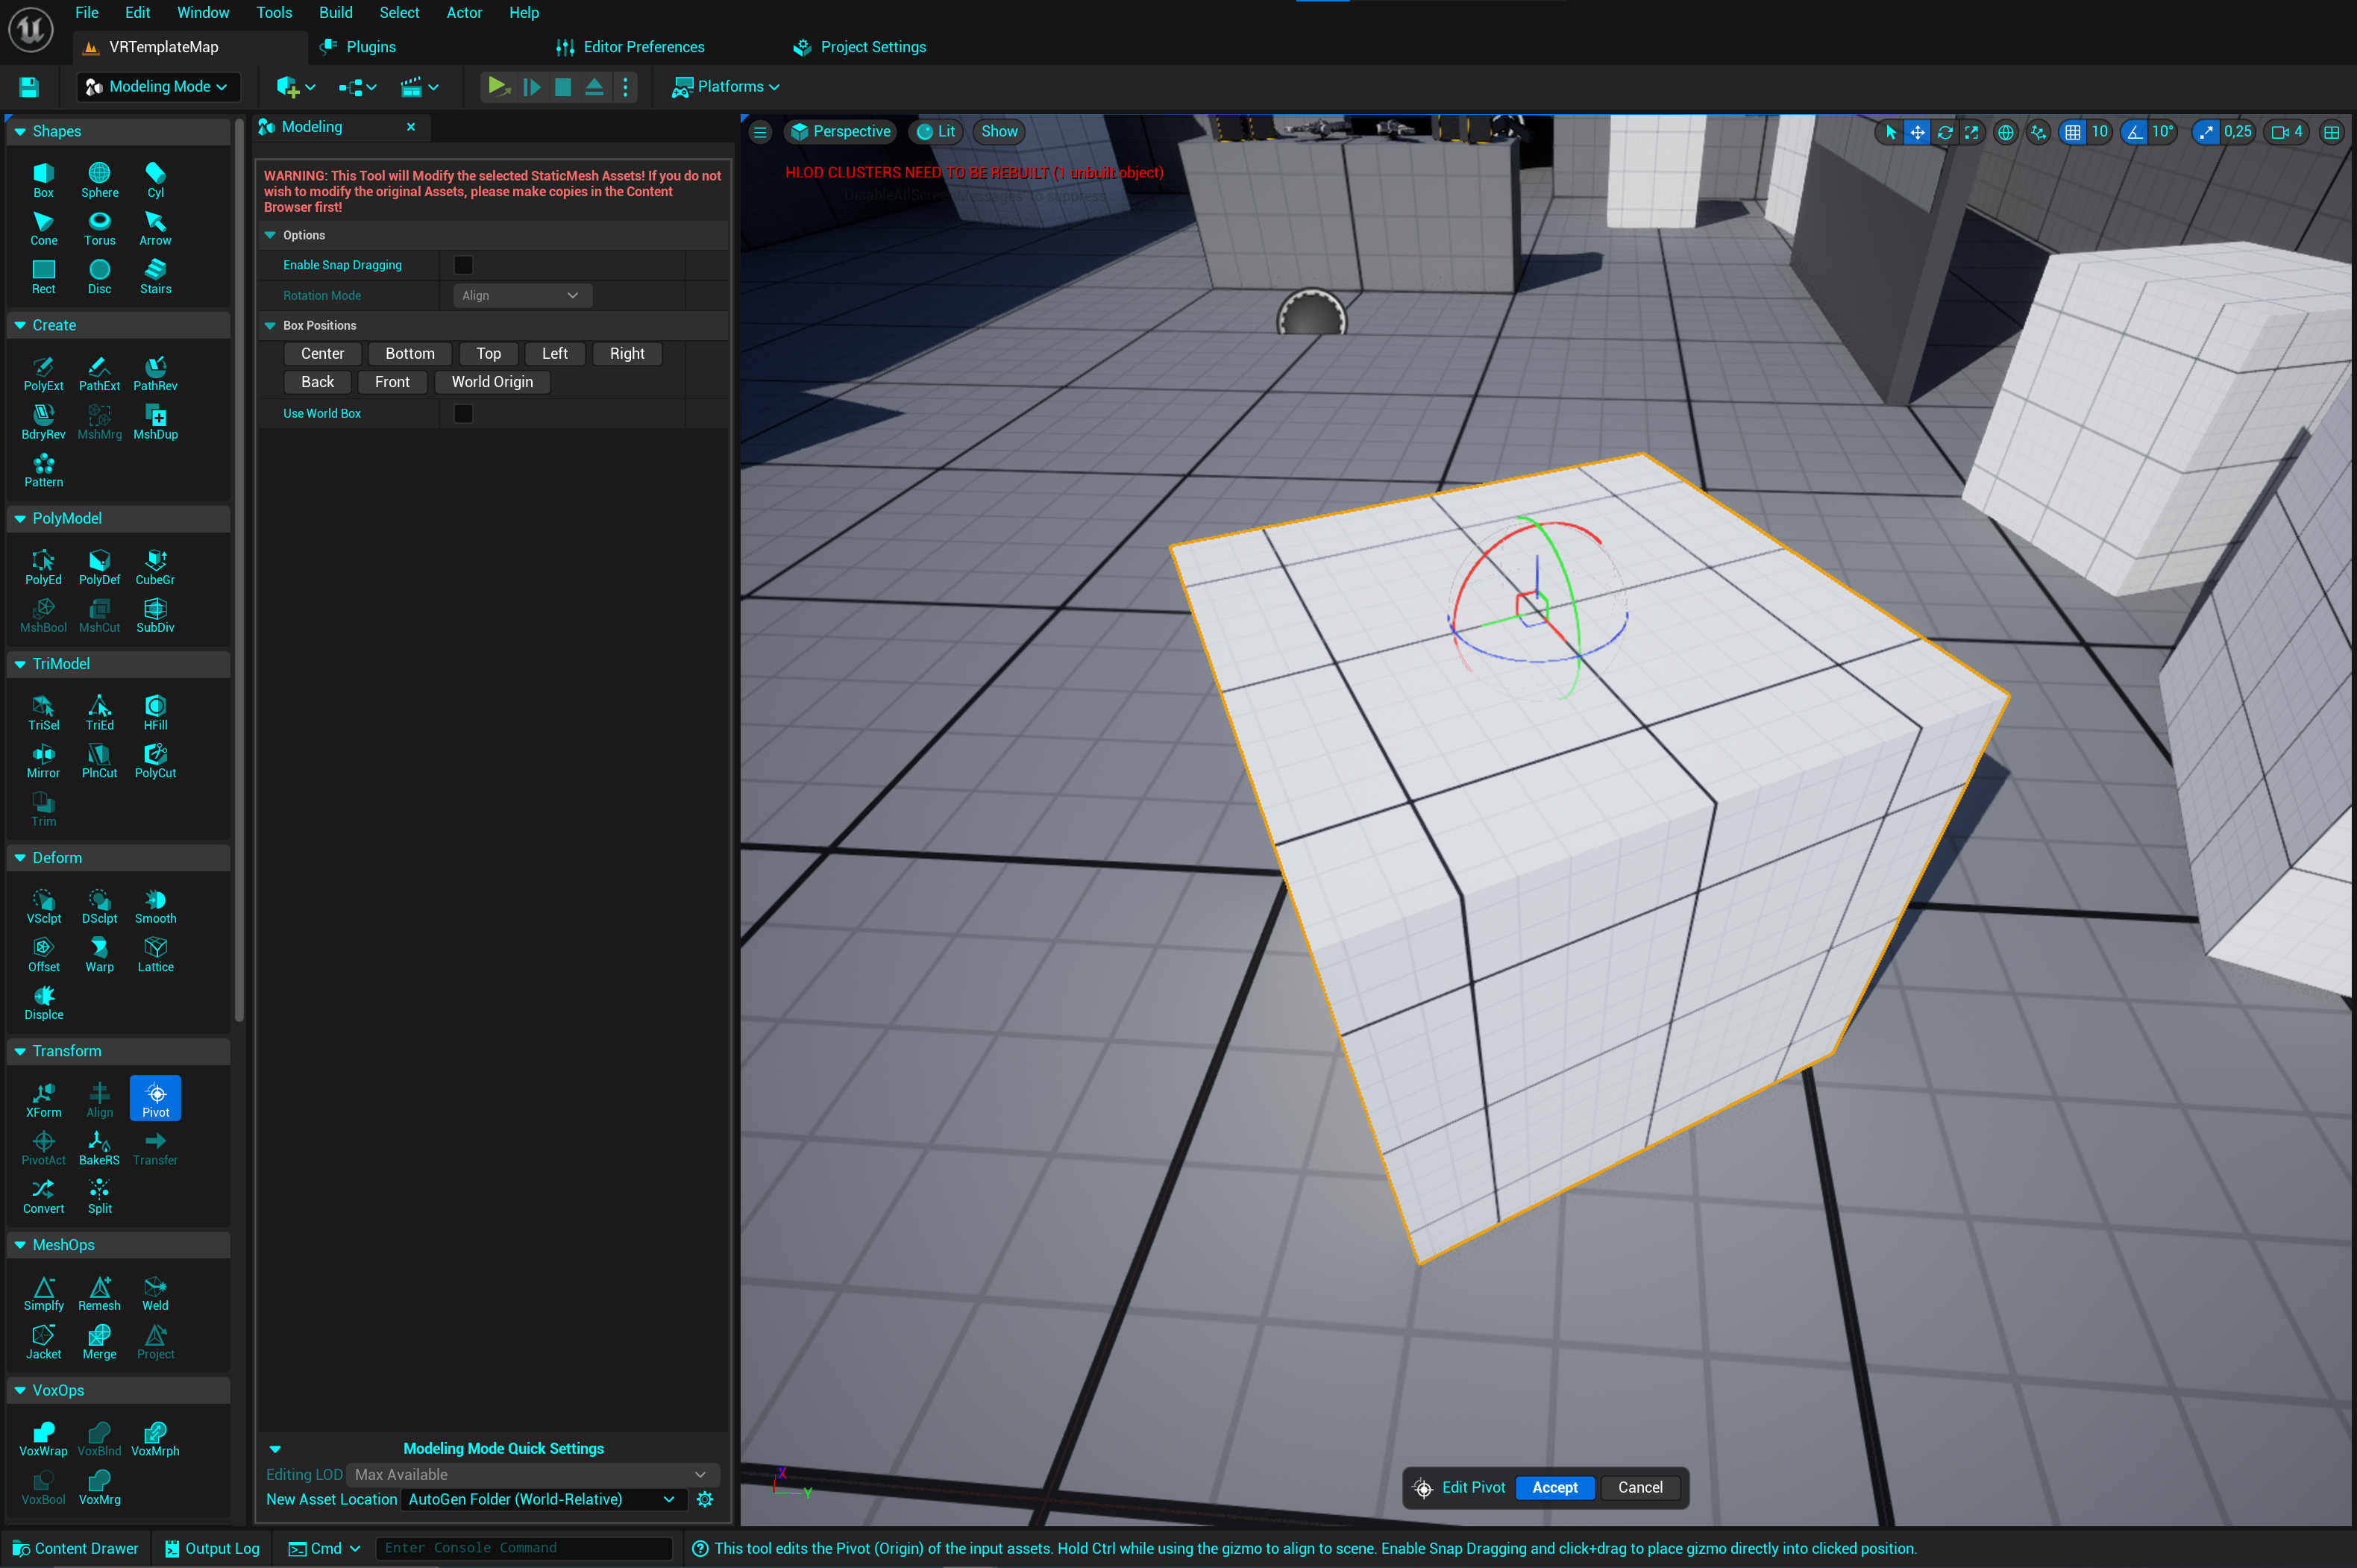
11.Use Modelling Tools Editor Mode and Static Mesh Editor Modeling Mode Plugins
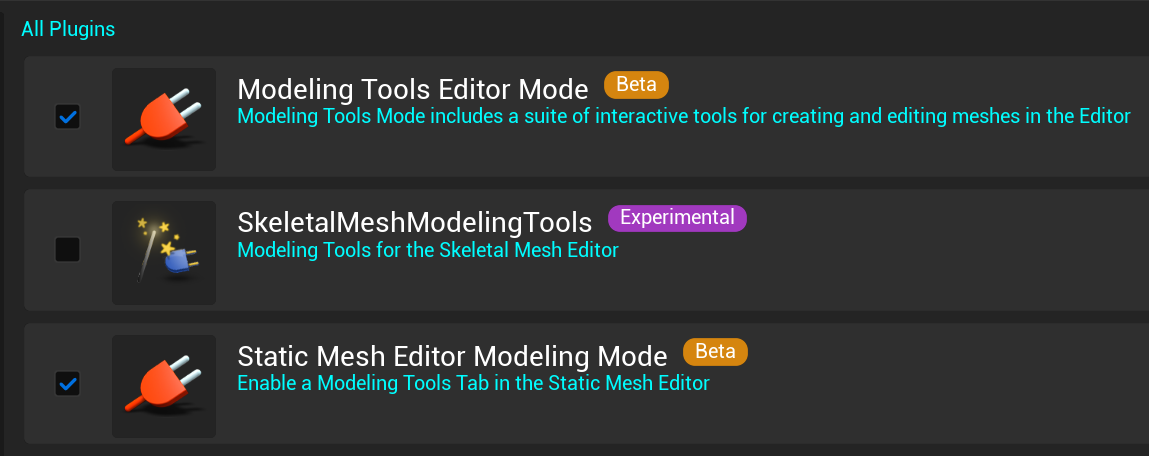
•For example - Change Pivot origin using Modeling Mode