Getting Started with Varjo XR Plugin for Unity
Adding Varjo XR support to a Unity project
To add Varjo XR support to your Unity project, first open an existing project or create a new one using a render pipeline of your choice. See XR Plugin Compatibility for compatible Unity editor and render pipeline versions.
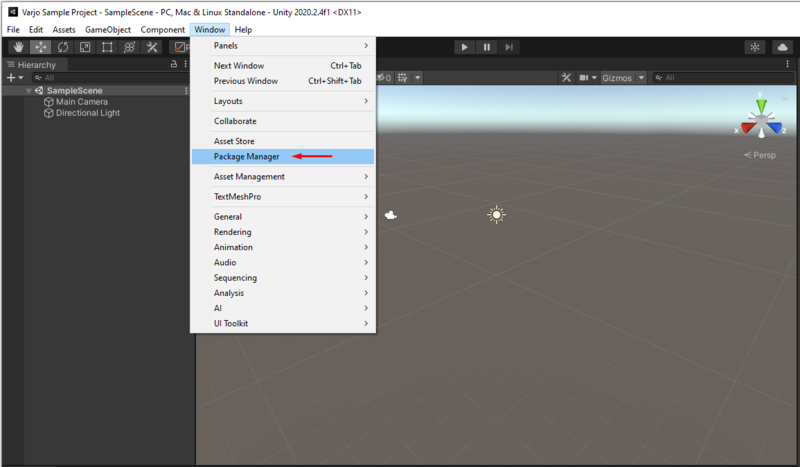
From the Unity main menu, select Window > Package Manager.
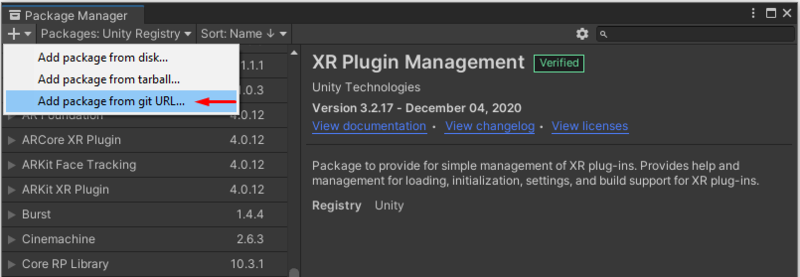
Click the + icon in the top left corner. Select Add Package from git URL and enter the URL for the Varjo XR plugin repository: https://github.com/varjocom/VarjoUnityXRPlugin.git. If you have a local copy of the XR plugin, you can select Add Package from disk instead.
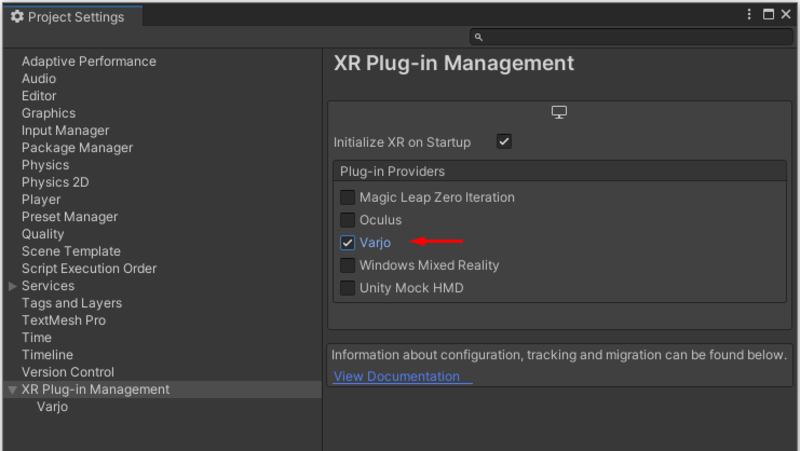
In the Project Settings dialog, select the XR Plugin Management tab and check Varjo in the Plug-in Providers list.
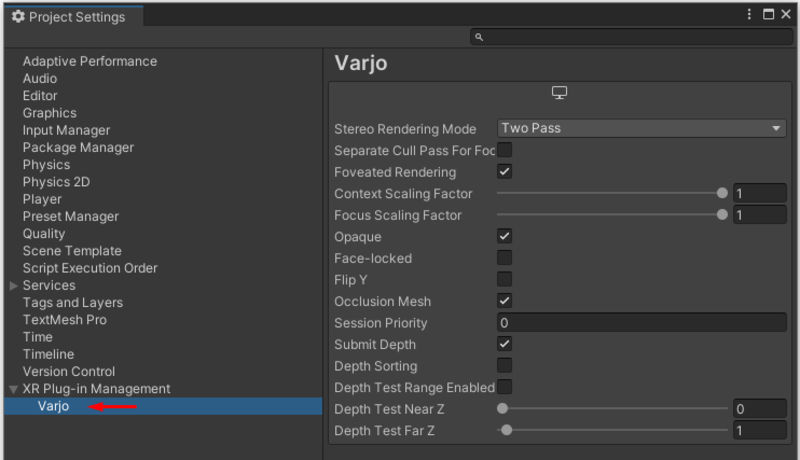
The Varjo XR plugin is now enabled in your project. You can modify the plugin settings in the Project Settings dialog under the XR Plug-in Management tab and Varjo.
See Rendering Settings for a detailed description of the available settings.
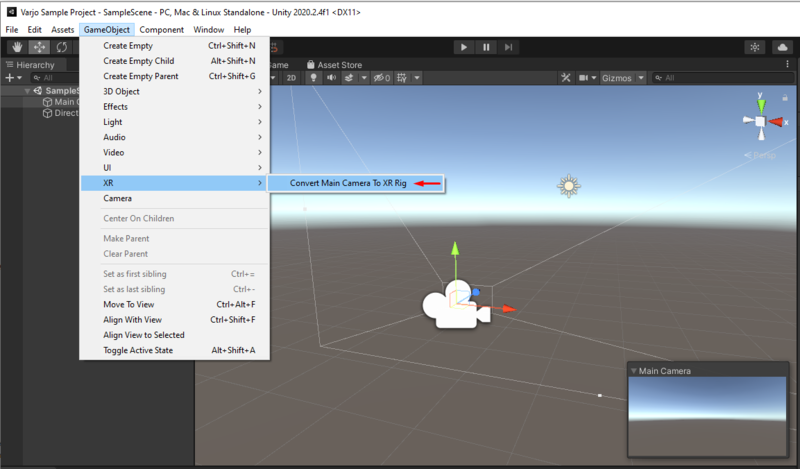
If there is only one Camera in the Scene, the Camera is tagged as the Main Camera, and it’s at the root of the hierarchy, you can enable HMD tracking simply by selecting Game Object > XR > Convert Main Camera To XR Rig from the Unity main menu.
For more complex scenes, follow Unity’s documentation to set up tracking with the XR plug-in framework.
HDRP Post Process Settings
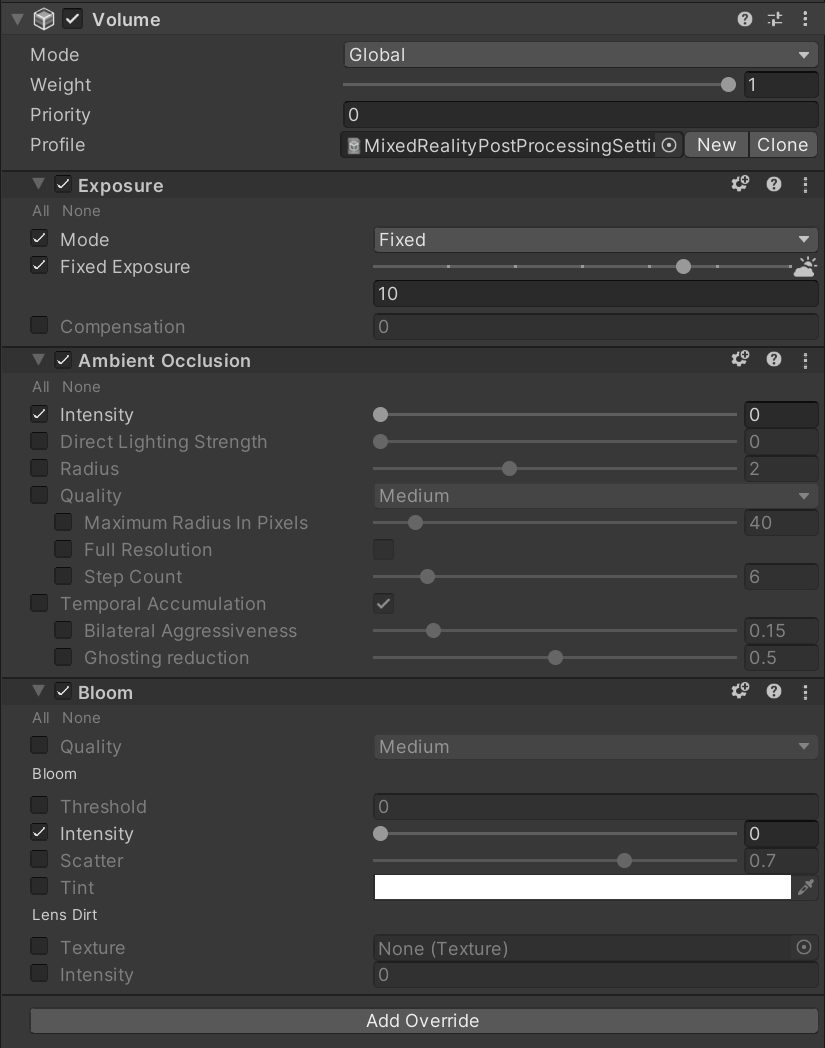
Create a new Volume Profile and add it to the scene as a global volume. Add the following overrides:
- Exposure : mode = Fixed (fixed exposure value can be adjusted based on scene)
- Bloom : Intensity = 0
- Ambient Occlusion : Intensity = 0
For further reccommendations on post-processing effects, see post-processing.
Unity XR Documentation
Additional configuration options and information on migrating an existing Unity project can be found in the official Unity documentation: Configuring your Unity Project for XR.
Note: Unity OpenXR plugin is not currently supported.