Depth occlusion
Note: you are currently viewing documentation for a beta or an older version of Varjo
Depth occlusion allows you to composite and sort real and virtual worlds together by utilizing the depth sensing capabilities of XR-3 and XR-1 Developer Edition. This allows you to bring your real hands into the virtual world or, in the case of XR-3, even other people’s hands.
Follow the steps below to enable depth occlusion for your project.
Recreate the logic from the reference image
Using depth occlusion
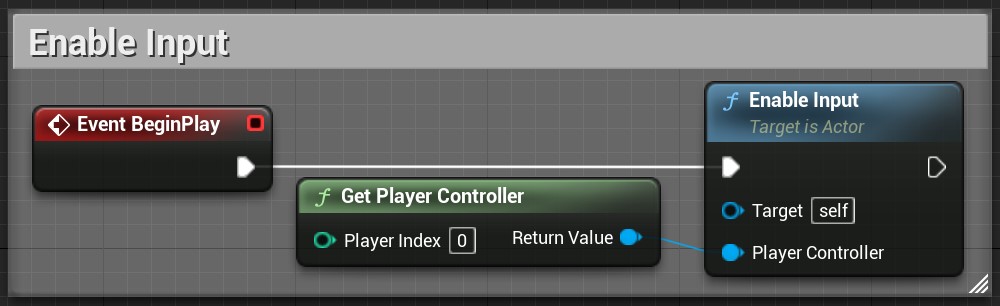
Enable the mixed reality cameras as described in Mixed Reality with Unreal. Depth occlusion doesn’t require you to use custom post processing, it’s enough to have Alpha Blend set as the Preferred Environment Blend Mode. To be able to do depth occlusion, you first have to enable depth testing. This can be done with Set Depth Test Enabled blueprint node.
Is Depth Test Enabled returns the current state of depth testing.

To set up this blueprint, follow the step-by-step instructions below.
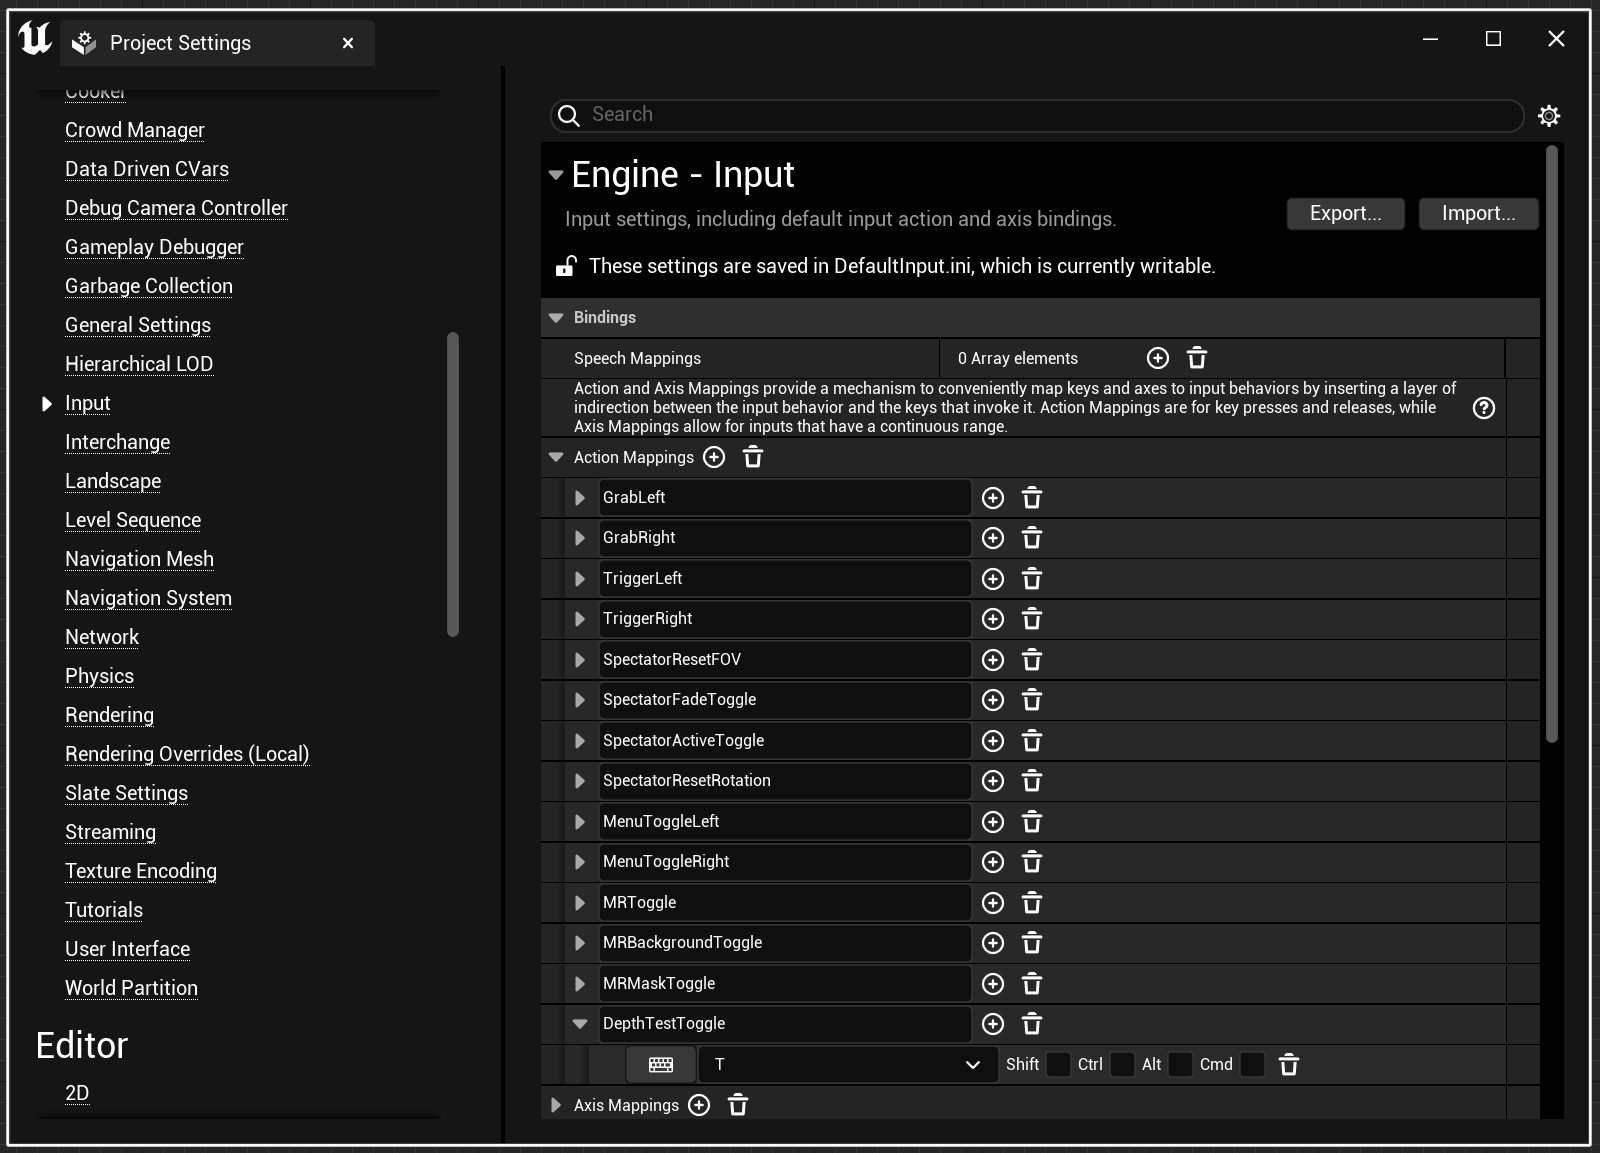
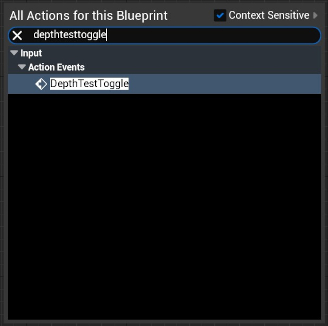
Go to Project Settings > Engine – Input > Action Mapping and add DepthTestToggle. Set it to key T.
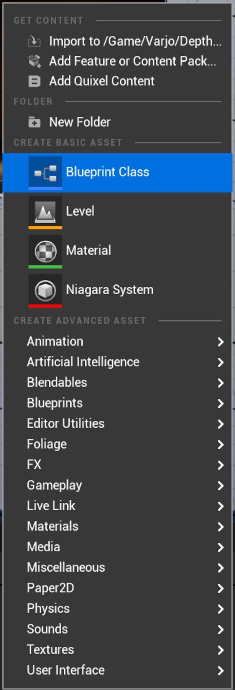
 Create a blueprint called BP_DepthControls and drag it to the viewport.
Create node DepthTestRange.
Recreate the logic from the reference image
To enabled depth occlusion with real world, enable environment depth estimation with Set Environment Depth Estimation Enabled node.
Is Environment Depth Estimation Enabled returns the current state.

To create this logic, follow the step-by-step instructions below.
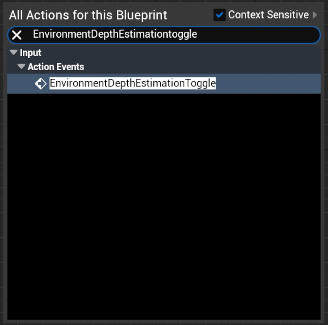
Go to Project Settings > Engine – Input > Action Mapping and add EnvironmentDepthEstimationToggle. Set it to key E.

Drag a pin from Released and create SetEnvironmentDepthEstimationEnabled.
To enable or disable depth estimation, call the respective methods in the VarjoMixedReality class.
The default depth test range is 0.0 - 0.75 m, which is typically good for hand occlusion. For finer control over the range included in depth testing, you can use Set Depth Test Range blueprint node.
The current state of the depth test range can be checked with Get Depth Test Range.
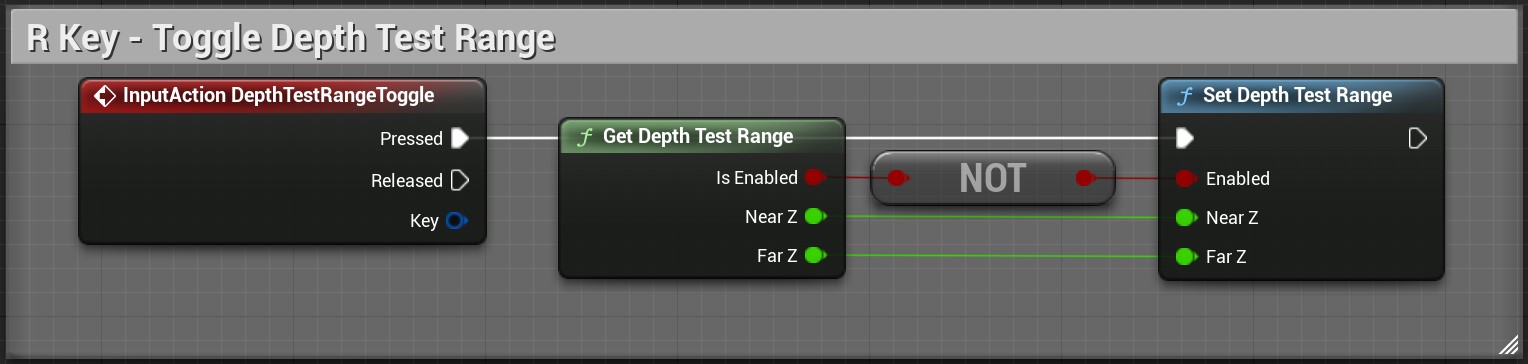
To create this logic, follow the step-by-step instructions below.
Go to Project Settings > Engine – Input > Action Mapping and add DepthTestRangeToggle. Set it to key R.

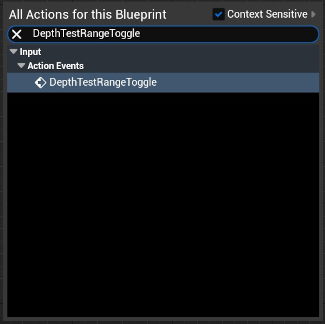
In BP_DepthControls, create DepthTestRangeToggle.
Recreate the logic from the reference image
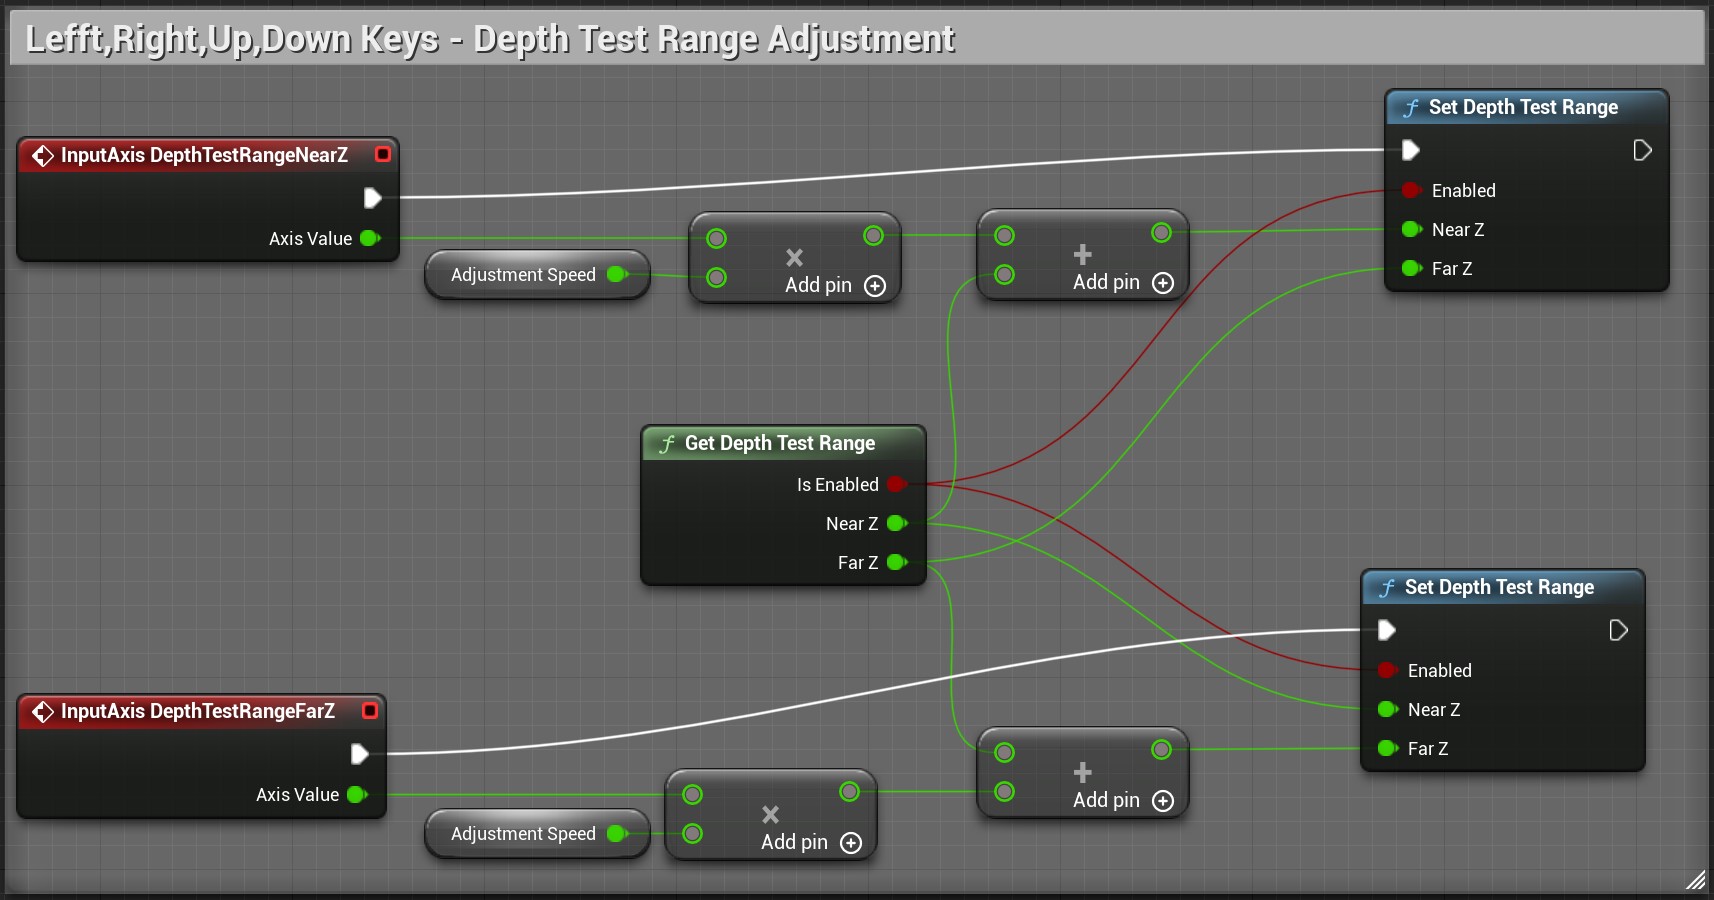
To have controllable Depth Range Adjustment, follow the step-by-step instructions below.
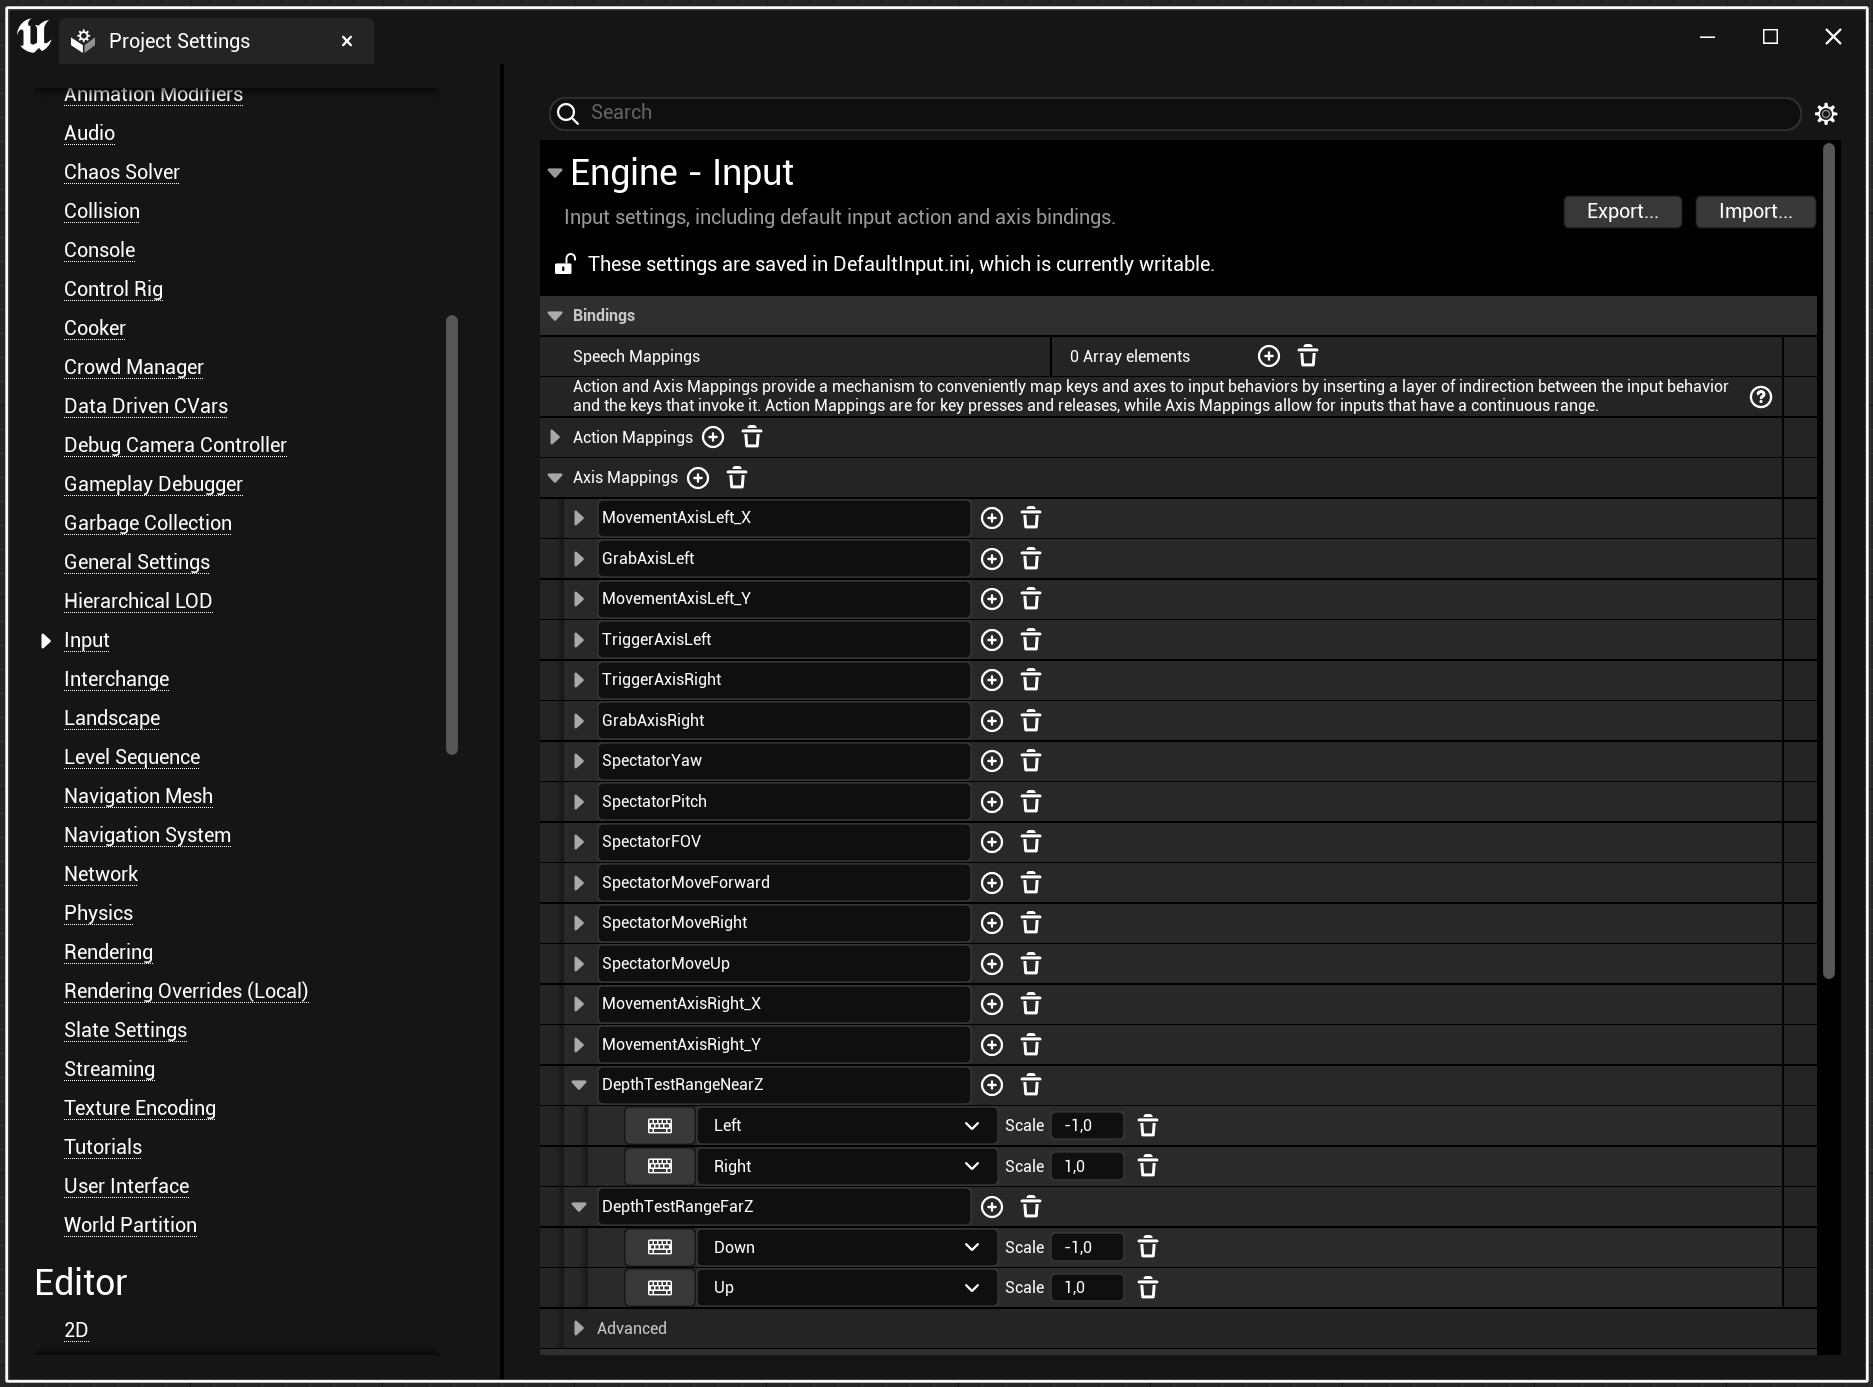
Go to Project Settings > Engine – Input> Axis Mappings and add a new mapping. Name it DepthTestRangeNearZ. Assign Scale -1 to Left key and Scale +1 to Right key.
Add another new mapping and name it DepthTestRangeFarZ. Assign Scale -1 to Down key and Scale +1 to Up key.
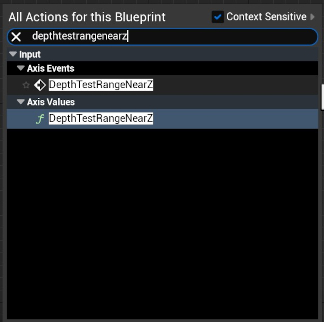
Open BP_DepthControls and create newly assigned InputAxisEvents.
Create DepthTestRangeNearZ and DepthTestRangeFarZ.
Go to Variables and create a variable AdjustmentSpeed. Set it as Float and enable Instance Editable.
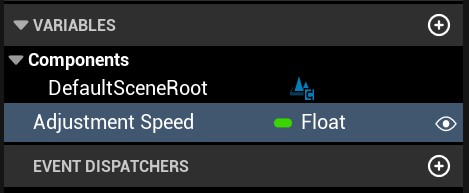
Compile.
In Default Value set the Adjustment Speed to 0,01.
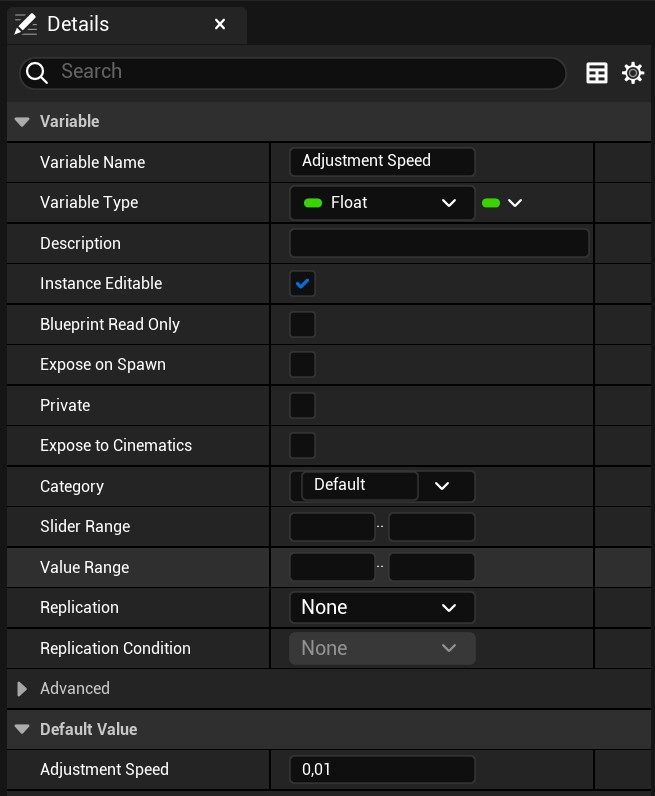
Follow the provided screenshot for reference.
Finally, in VRPreview, when you have pressed
T key to enable DepthTestToggle
E key to activate EnvironmentDepthEstimationToggle
R key to activate DepthTestRangeToggle
You can adjust the Depth Effect via up-down-left-right control keys.
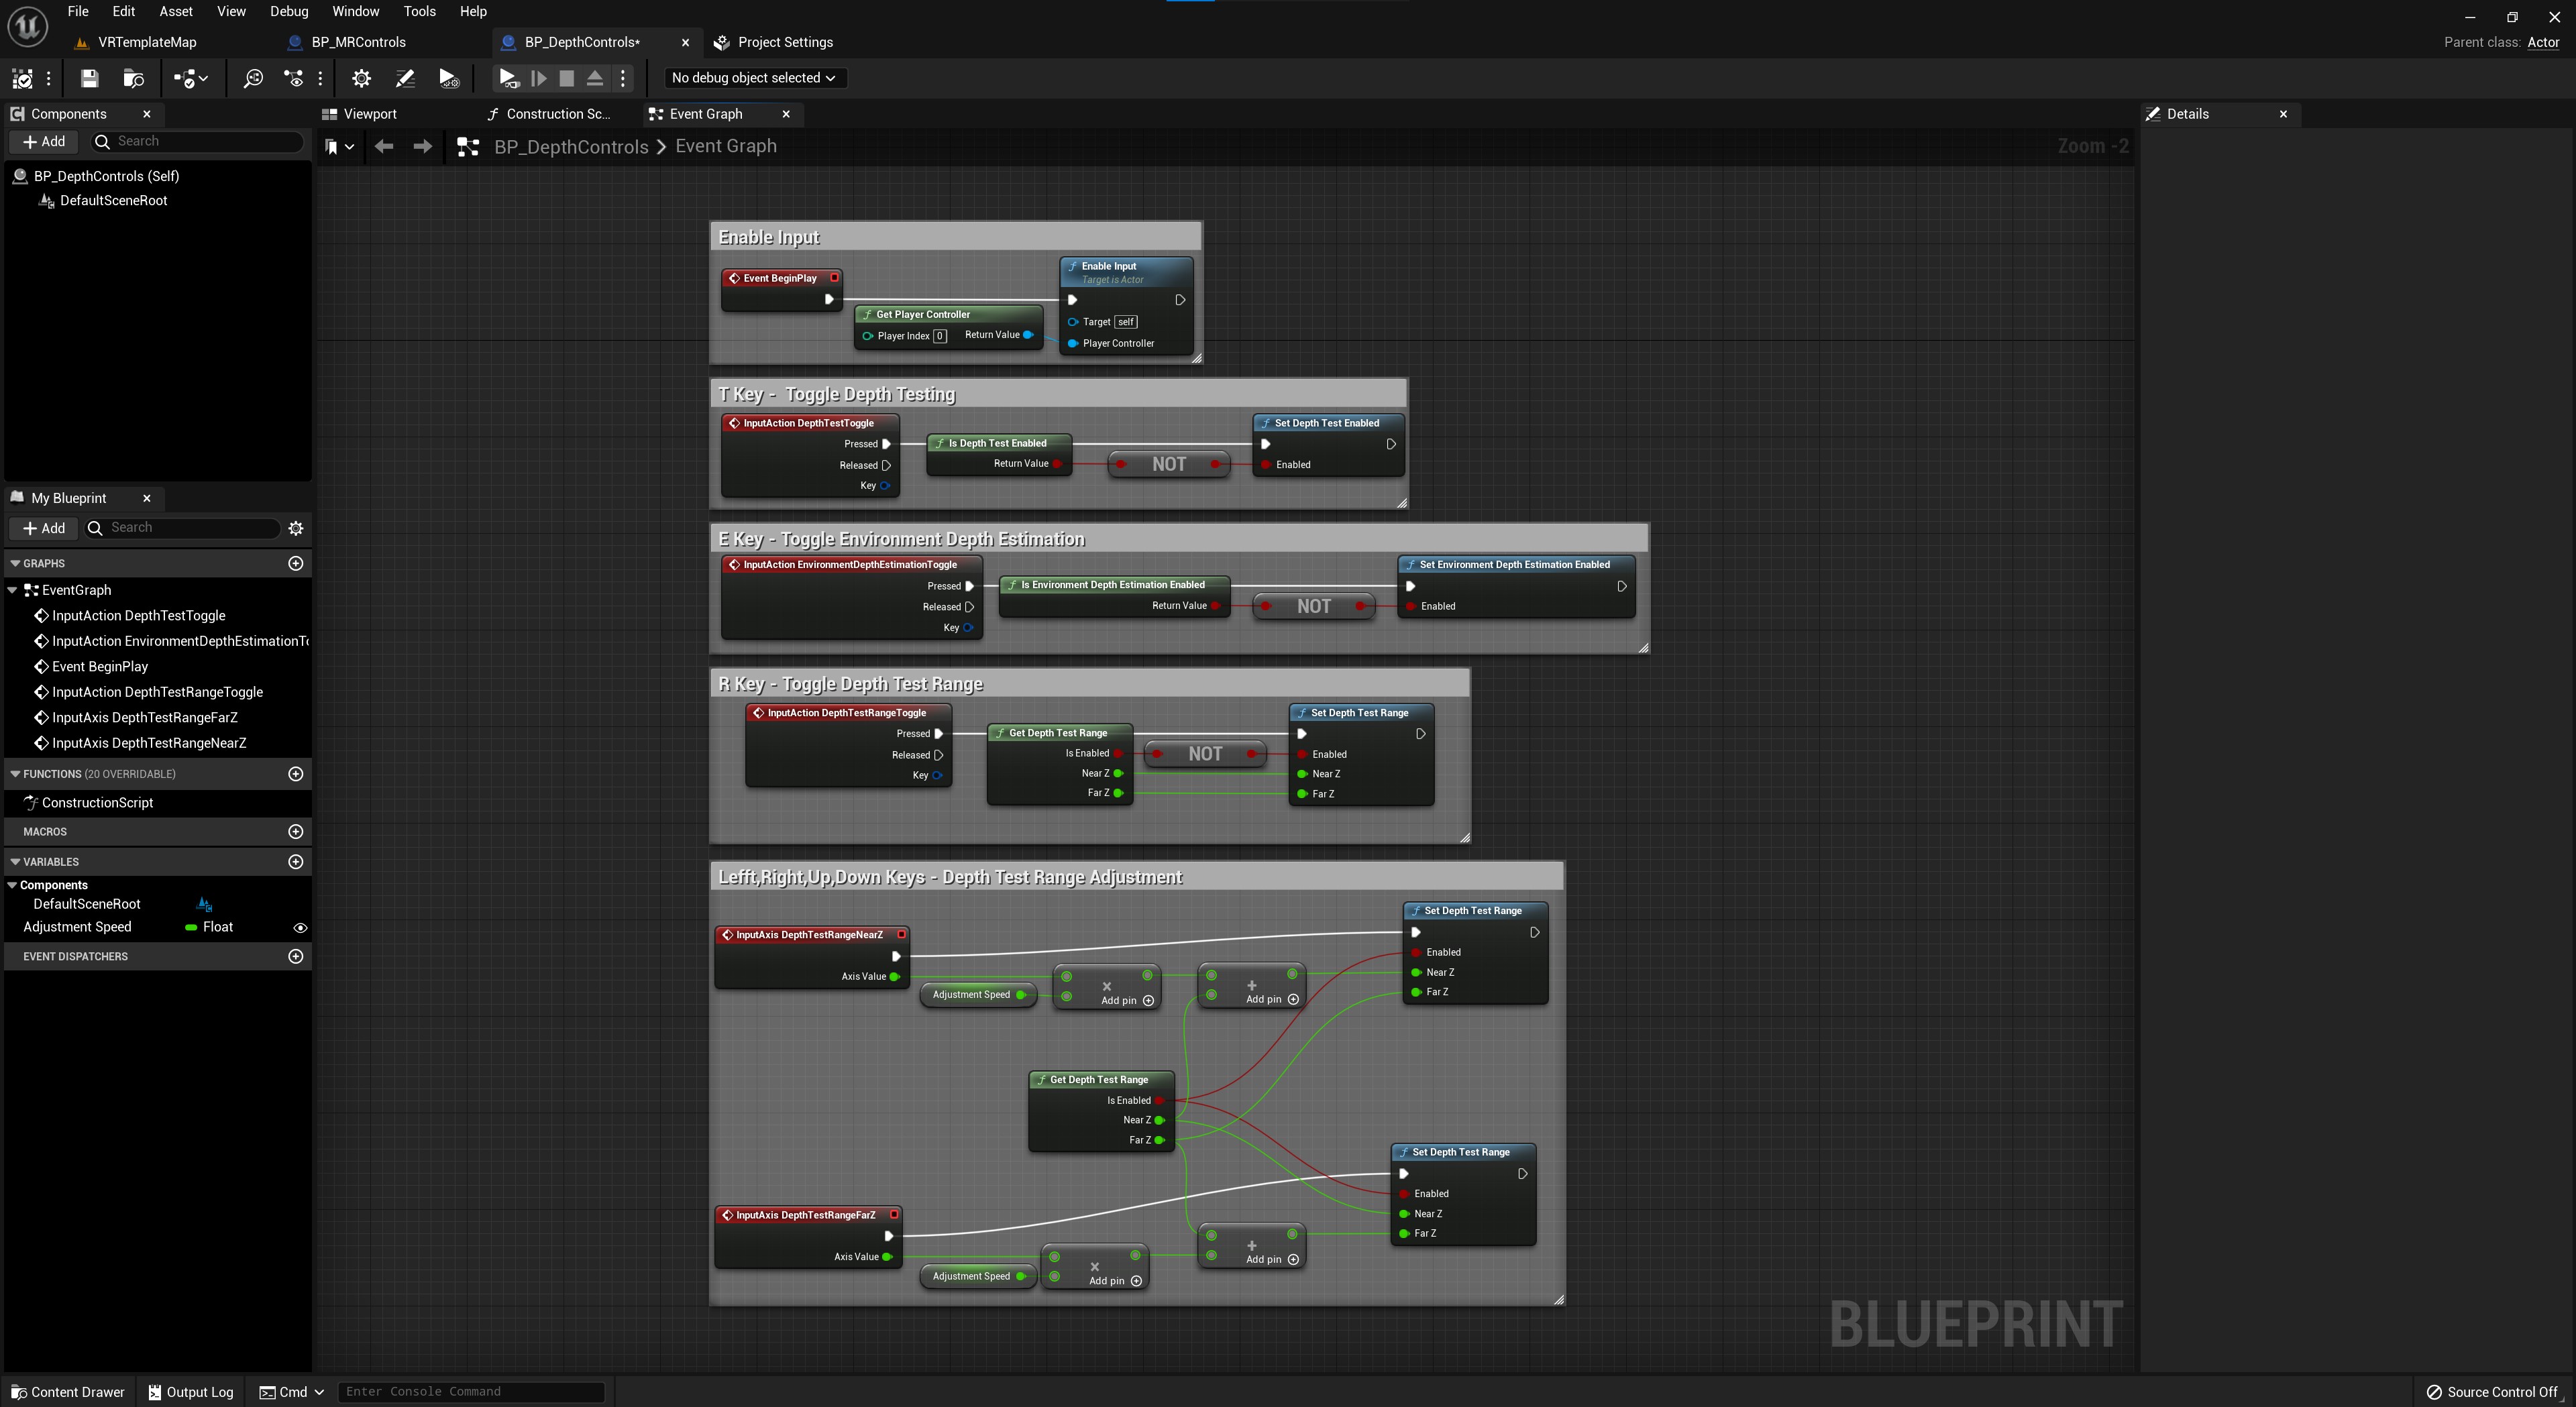
When you have finished all the steps, your BP_DepthControls blueprint should look like this.