Unity Examples
Note: you are currently viewing documentation for a beta or an older version of Varjo
Below are examples of simple scenes showing the main features of the Varjo headset. You can freely copy code from the examples to your own project. The example projects are supplied together with the Varjo Plugin for Unity.
Note: Make sure to copy the example to your project before modifying it. These examples are constantly updated and any changes may be overwritten.
RENDERING EXAMPLE
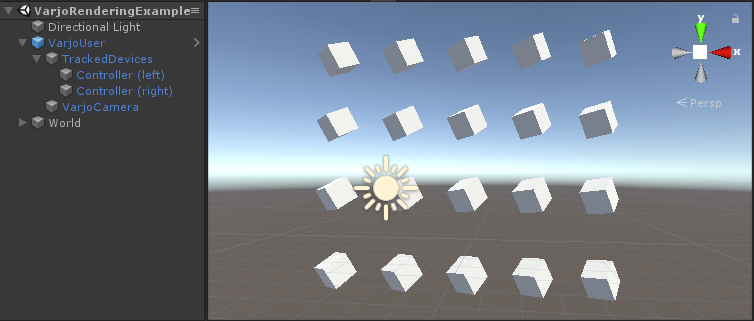
This is a basic example for testing whether the headset is working and showing an image correctly. It can be used as a starting point to understand how to develop for the Varjo headset.
EVENTS EXAMPLE
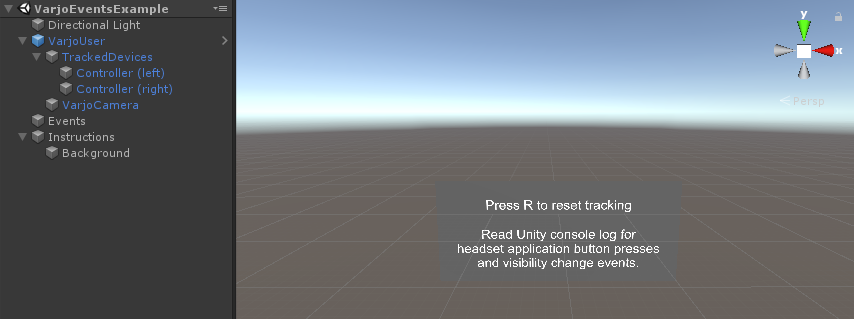
This example shows how to reset tracking position and record different events in the application.
Scripts used:
- Events
- VarjoTrackingReset
- VarjoEvents
VarjoTrackingReset
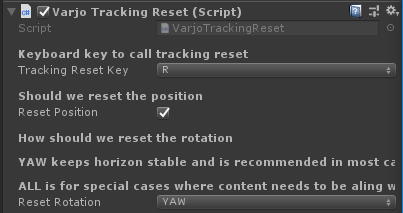
This is a script for resetting the tracking origin position based on current user location by pressing a keyboard button. It can be useful for seated experiences where the user’s position is stationary. Settings for the example can be found in the inspector:
VarjoEvents
This is a script for logging events. It shows how to log info about the Application and System buttons on the Varjo Headset when pressed.
Note: You can only use the Application button on your Varjo headset for applications as the System button is reserved. However, you still can detect when the System button is pressed.
EYE TRACKING EXAMPLE
If you are not familiar with the eye tracking capabilities of the Varjo headset, it is recommended that you familiarize yourself with the information found in Eye Tracking with Varjo headset before proceeding. In order for eye tracking to work, please make sure you have enabled eye tracking in VarjoBase as described in Developing with 20/20 Eye Tracker section.
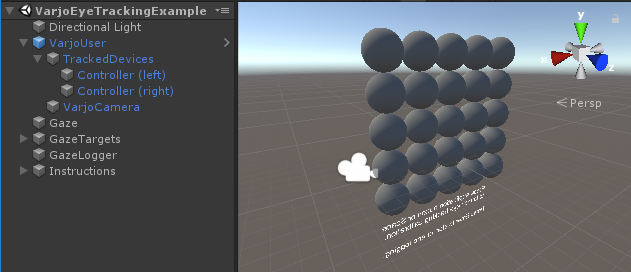
This example shows how to request eye tracking calibration and use the 20/20 Eye Tracker. Additionally, it shows how to poll button events from the headset as calibration is requested by pressing the Application button on the headset. The Application button on the Varjo headset is meant for interacting with VR apps. You can freely choose what this button does when using your application.
To access the Eye tracking code, check VarjoGazeRay.
This example also shows how eye tracking information can be logged into a file. Logged information includes information for frames, headset position and rotation, as well ass separate data for each eye’s pupil size, direction, and focus distance. All of the information is stored in the .csv file in /Assets/logs/ folder.
To access the Gaze Logging code, check VarjoGazeLog.
An example for accessing the Varjo headset’s Application button is demonstrated in the VarjoGazeCalibrationRequest file.
Scripts used:
- Gaze
- VarjoGazeRay
- VarjoGazeCalibrationRequest
- VarjoGazeTarget
- GazeLogger
- VarjoGazeLog
VarjoGazeRay
This shoots rays towards where the user is looking and sends hit events to VarjoGazeTargets. You may use it for projecting to the point at which the user is looking.
Note: This requires eye tracking calibration before using.
VarjoGazeCalibrationRequest
When the user presses the Application button or Space, an eye tracking calibration request is sent. Calibration needs to be repeated every time the headset is taken off and put back on in order to ensure the best eye tracking performance.
VarjoGazeTarget
This handles sphere color change (target) when the user looks at it. You may use it as a starting point for changing behavior based on gaze interactions.
VarjoGazeLog
This logs gaze data after pressing a button and requires eye tracking calibration to be performed before using. Logged data is stored in the project’s folder.
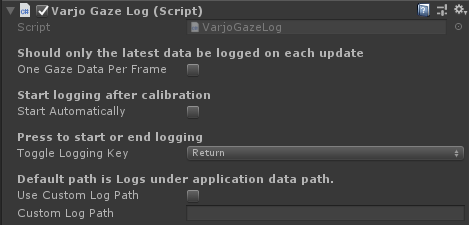
Settings for logging can be found in the Unity editor and you can modify them according to your needs.
MR EXAMPLE
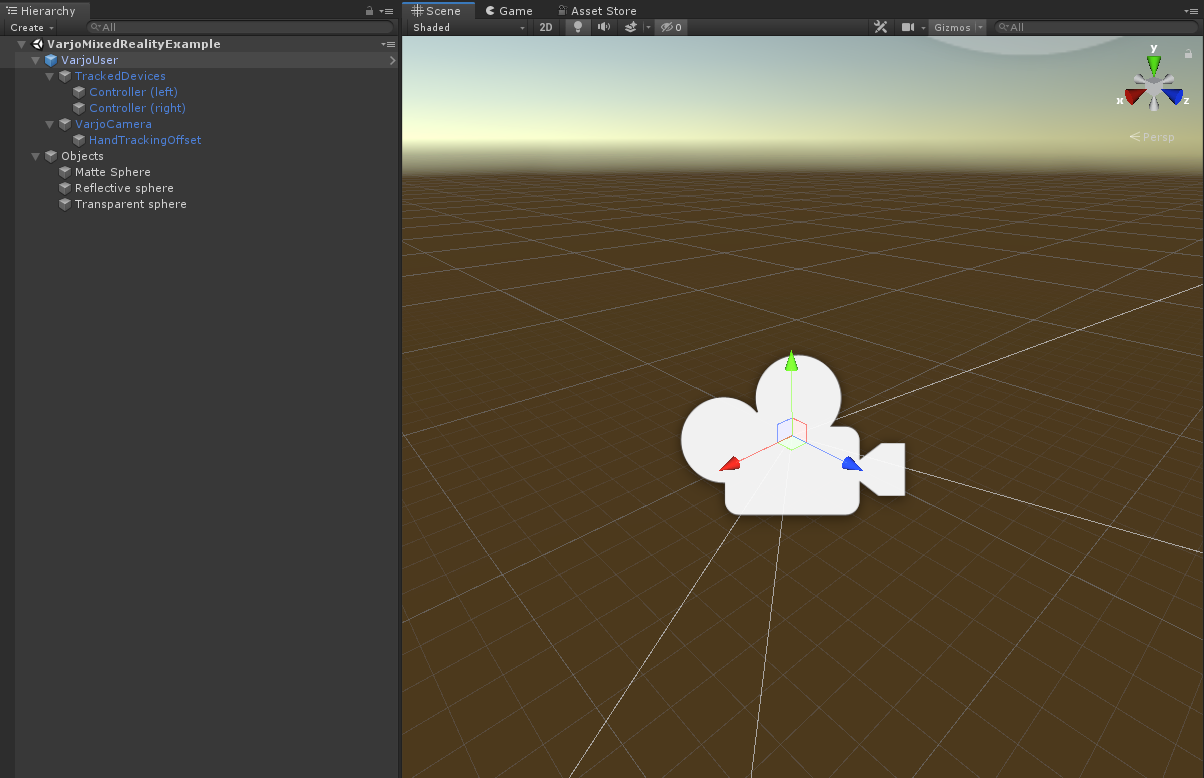
This example shows how to display a video pass-through image from both cameras of XR-1 Developer Edition in the headset and all mixed reality related functionalities.
Scripts used:
- VarjoMixedReality
VarjoMixedReality
This controls for mixed reality related functionalities.
MR STREAM EXAMPLE
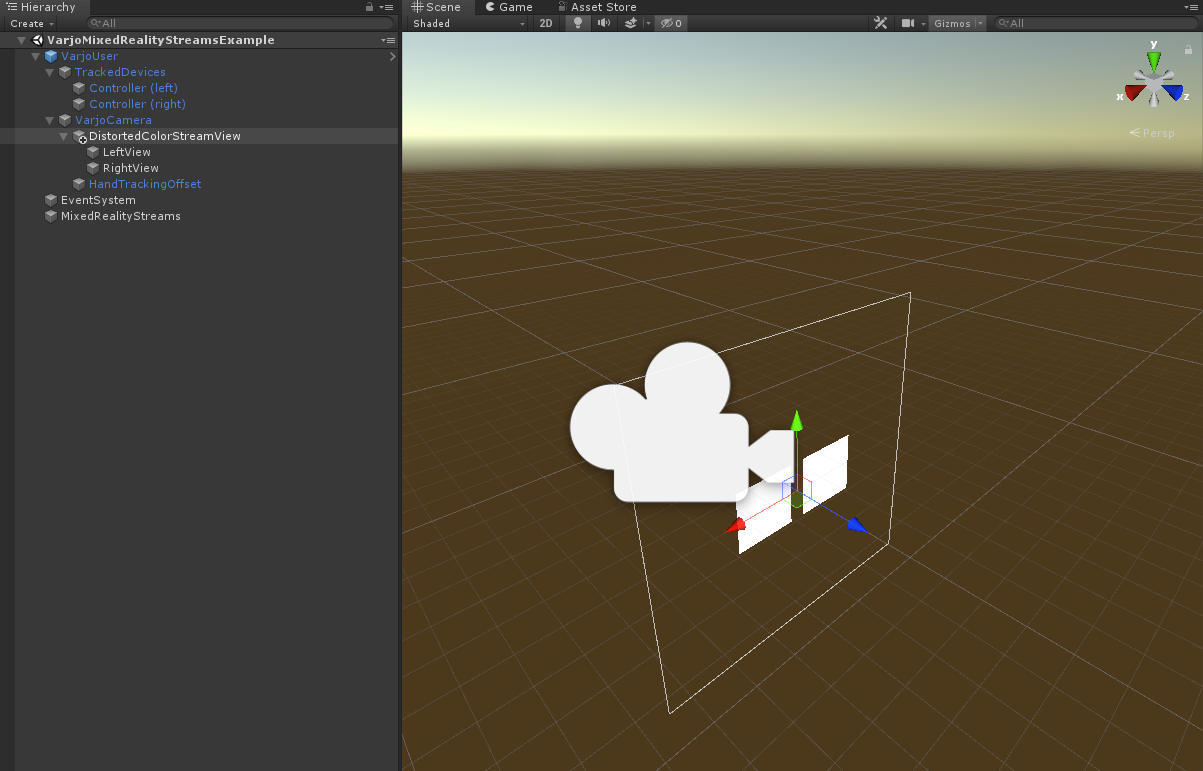
This example shows how to process a raw video pass-through image from the cameras of XR-1 Developer Edition and trigger an event every frame.
Scripts used:
- VarjoMixedRealityStreams
VarjoMixedRealityStreams
This example demonstrates the controls for mixed reality stream-related functionalities.
MULTI-APP EXAMPLE
The multi-app example shows how to overlay multiple applications on top of each other using session priorities. It renders a Priority text alongside an animated cube on a transparent background.
Please note that due to restrictions in Unity, you can only have one application at a time running with VR features. Assigning different priorities to applications must therefore be done using other programs. Please contact Varjo support if you need to run multiple Unity applications with different priorities.
Scripts used:
- VarjoMultiClient
VarjoMultiClient
This script handles session priority assignment and visualization. You can assign the default application priority in the Unity editor using the Inspector for VarjoMultiClient.
Assigning priority in a build:
--priority [priority]
Or:
-prio [priority]
Applications with higher priority values are laid over those with lower values. Negative values are valid.