Developer tools in Varjo Base
Note: you are currently viewing documentation for a beta or an older version of Varjo
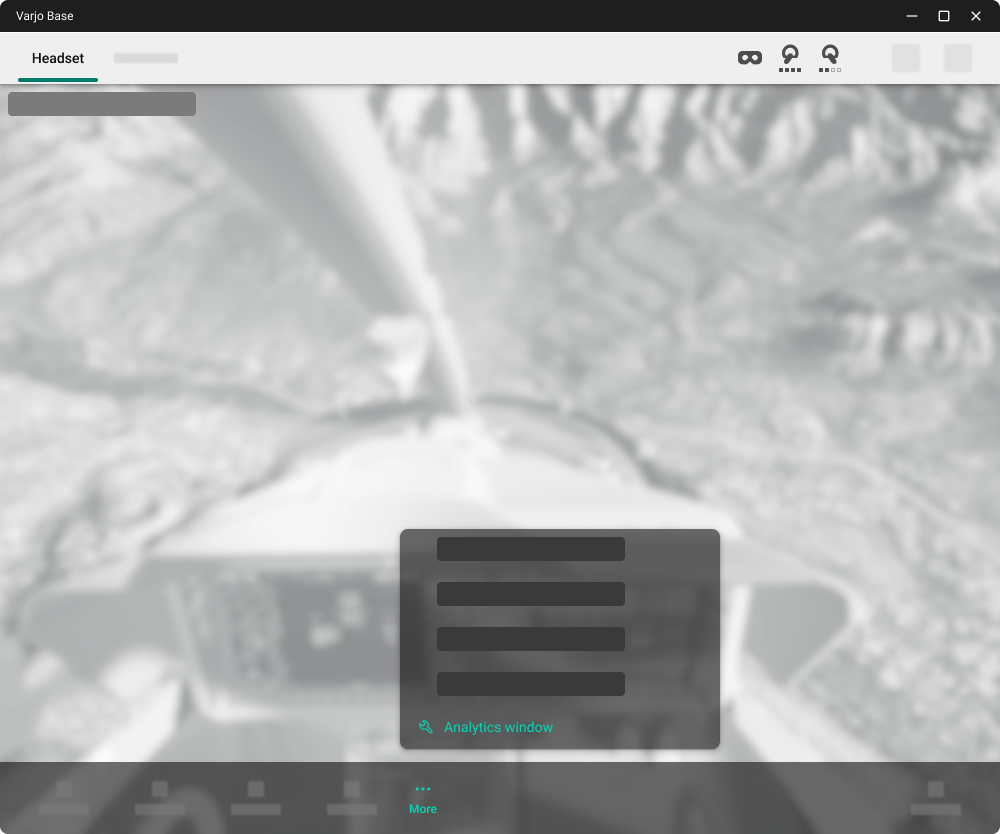
The Analytics window in Varjo Base includes tools to help you develop software for Varjo headsets. You can even start developing without a headset by simulating some features in software.
The Analytics window
The Analytics window can be found in Varjo Base under Developer tools. You may already be familiar with the term compositor window, which is a similar concept.
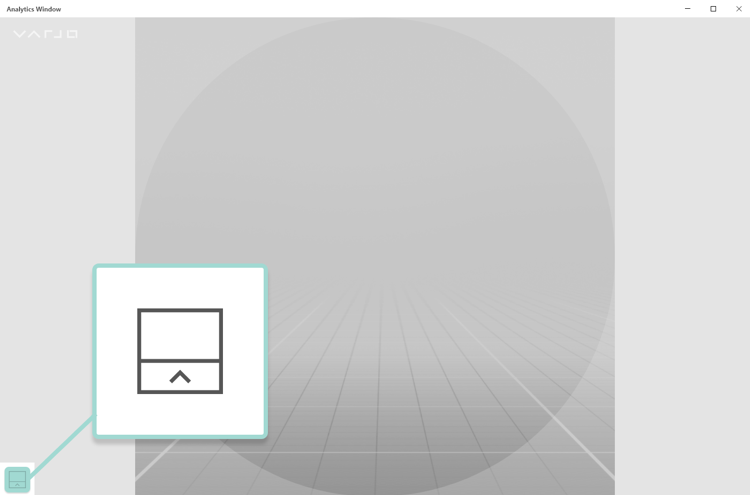
After opening the Analytics window, click the icon in the bottom left corner to bring up the toolbar.

The following controls are available in the Analytics window toolbar:
-
The Advanced view options control the four viewports which make up the view in the headset. You can select which viewports are visible in the Analytics window. The options are Left, Right, Peripheral, and Focus, which correspond to the view from the left and right eye, as well as peripheral and focus areas.
-
Screenshot and Screen recording can capture a screenshot or record video of the current view. Screenshots are saved in the Pictures\Varjo folder and video recordings under Videos\Varjo on your computer.
Click on Eye tracking for additional settings. Please note that you must calibrate eye tracking before using this feature.
-
Enable Show gaze dot in the mirror view to display the eye tracking target. The target is visible only in the Analytics window and not in the headset.
-
Log eye tracking data while screen recording will export eye tracking data when you make a screen recording. A CSV file containing the data will be saved in the Videos\Varjo folder alongside the recording. The data file includes a timeline of the recording with x-y coordinates for gaze positions.
-
-
Select Performance to view live data about the performance of your application. The Depth button toggles the depth buffer view for applications that use depth estimation.
- The Simulate button opens additional simulation settings. You can choose a Varjo headset in the Simulated headset drop-down list. Select XR-1 Developer Edition to bring up additional settings.
- The XR-1 Developer Edition headset features video pass-through cameras, which can also be emulated. Under Video pass-through emulation select a color to replace the camera feed. Alternatively, you can use an image in PNG, JPEG, BMP or BIN format. We recommend using an image with a resolution of at least 1000 by 1000 pixels for visual clarity. Select Video pass-through to view the simulated camera feed.
-
Application button and System button emulate the physical buttons on Varjo headsets:
-
The System button is used to access System settings.
-
The Application button is used for interactions in applications.
Mouse and WASD allows you to simulate headset movement. Once enabled, you can rotate and move in the view as follows:
-
Click and drag the mouse to rotate.
-
Move forward, backward, and sideways using the W, A, S, and D keys.
-
Move up and down by pressing Q and E.
-
- The Full screen button toggles full-screen mode for the Analytics window.