Masking with Unreal
Note: you are currently viewing documentation for a beta or an older version of Varjo
When developing for XR-3 and XR-1 Developer Edition, you can mask specific objects to act as a “window” into the real world. This is especially useful if you want to see real-world elements such as instruments or controller devices in the virtual environment.
Varjo Compositor uses the alpha value of a layer to blend between the image from the client application and that from the video pass-through (VST) cameras. If VST rendering is enabled and the layer is not flagged as opaque, every pixel in the color buffer with an alpha value smaller than 1.0 will be blended with the VST image. If the color of the pixel in the color buffer is RGBA(0,0,0,0), only the VST image will be visible.
Follow these simple steps to add a VST mask to your Unreal project.
Creating a mixed reality mask
Enable mixed reality for Varjo OpenXR plugin following the steps in Mixed Reality with Unreal.
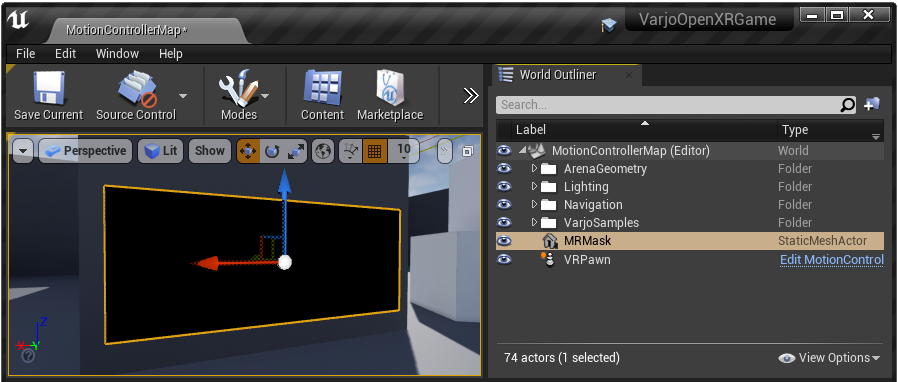
Start by adding a Static Mesh Actor to your scene. The mesh will act as a mask for the video pass-through image and can be any shape.
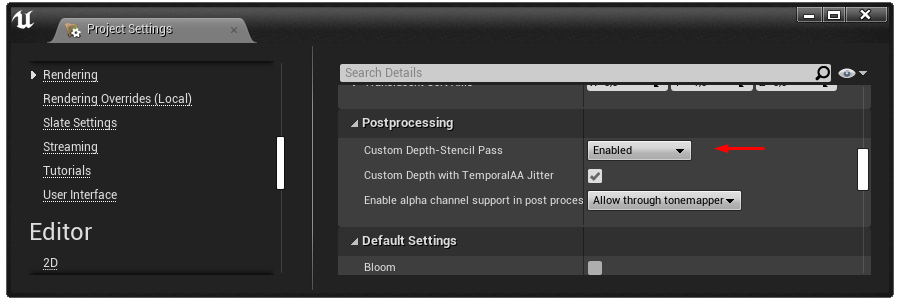
You can utilize the custom depth buffer to create the VST mask. Go to Project Settings > Rendering > Postprocessing and set Custom Depth-Stencil Pass Enabled to enable the custom depth buffer.
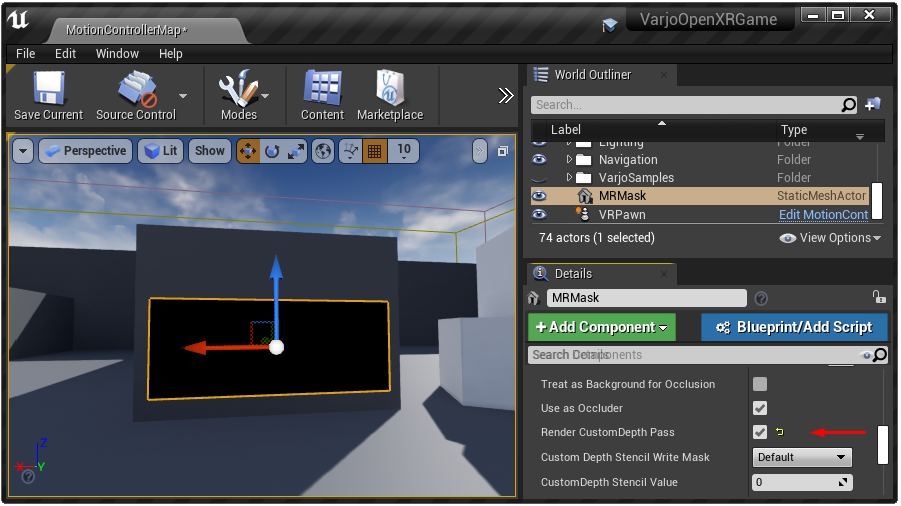
Once you have the custom depth buffer set up, you have to make the mask mesh write into it.
Select the created Static Mesh Actor and enable Render CustomDepth Pass in Details > Rendering.
The mask object is now ready. Follow the steps in Mixed Reality with Unreal to set up custom post processing and open the post process material in the Material Editor
The logic for masking is simple. When CustomDepth is smaller than SceneDepth (= mask object is not behind a non-mask object), output Opacity 0.
Otherwise output Opacity 1.0. Here we have modified the post process material example from Mixed Reality with Unreal
to enable masking.
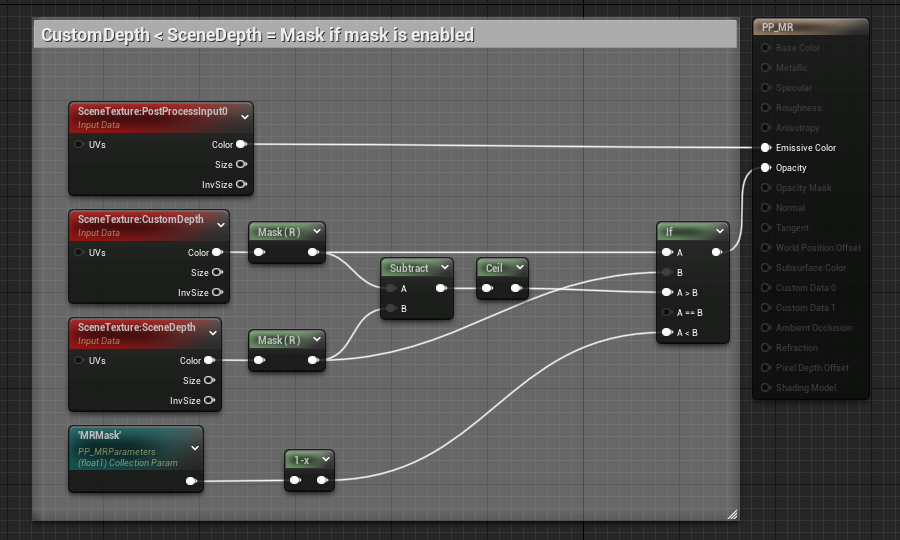
If you want to have the mask always enabled, you can just use 0.0 if CustomDepth is smaller than SceneDepth.
If you want to be able to control the mask, you can create a new Material Parameter Collection with a scalar value and use that in the post process material.
In the example we use a scalar called MRMask.
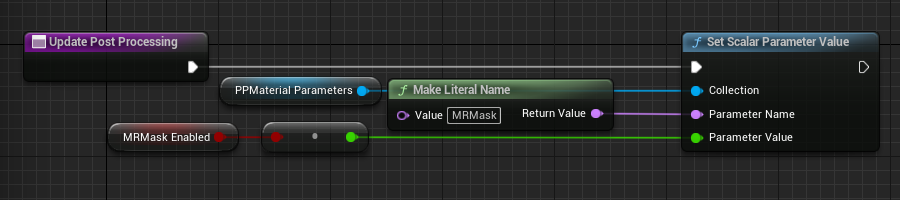
Add a reference to this Material Parameter Collection in a blueprint and create a function for controlling the MRMask scalar parameter.
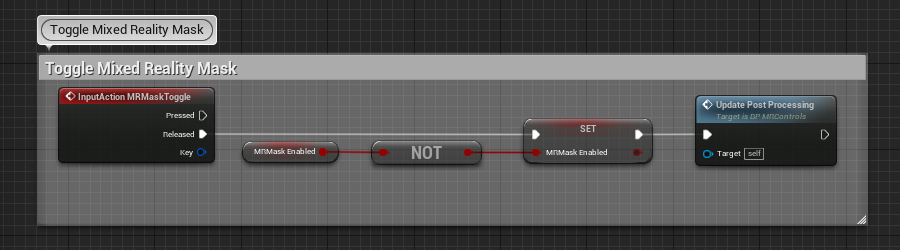
Now create a blueprint for toggling the mask and have it call the created function to set the scalar value.
Click Play and you should see the real world through the mask you created when the mask is enabled.