Recommended Settings
Note: you are currently viewing documentation for a beta or an older version of Varjo
This page shows the recommended settings for maximizing performance and visual quality for Varjo headsets.
INSTANCED STEREO
Instanced Stereo is supported for Varjo headsets starting from Unreal Engine 5.0.2.
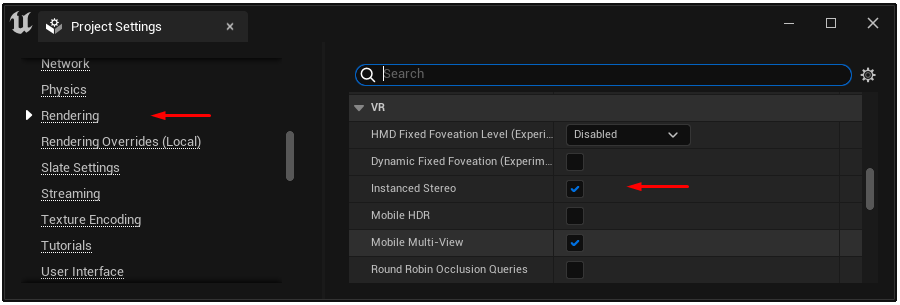
It’s recommended to keep instanced stereo rendering enabled.
FOVEATED RENDERING
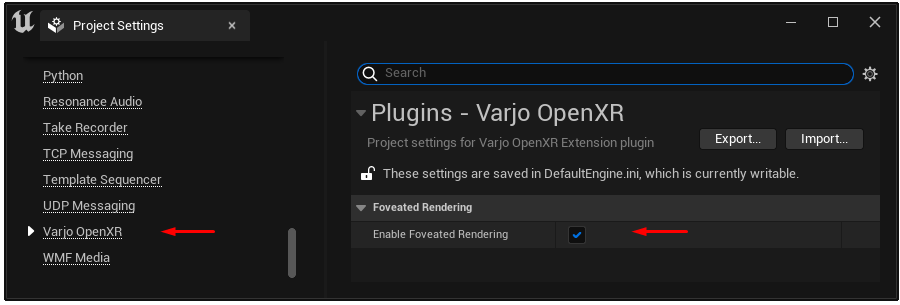
We recommended that you keep foveated rendering enabled when using the Varjo OpenXR plugin. Foveated rendering makes use of the eye tracking functionality in Varjo headsets to improve performance by reducing the image quality in peripheral areas where the user is not looking. Read more about supported dynamic viewport foveated rendering.
HARDWARE OCCLUSION QUERIES
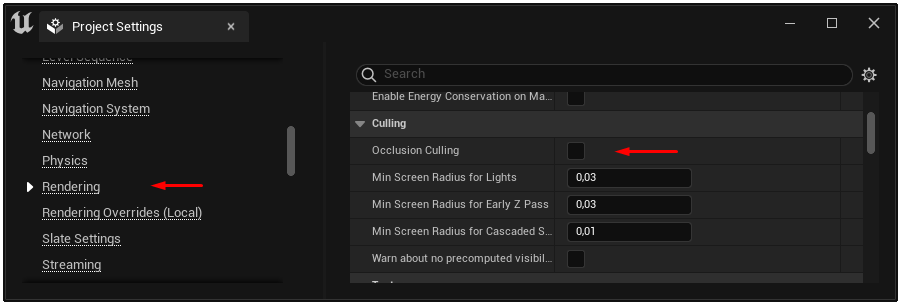
When using Hardware Occlusion Queries the Actor’s visibility is read back one frame later, which can cause them to “pop in” if the camera is moving very fast. This can further cause rendering artefacts with Varjo’s four-viewport setup, especially when using foveated rendering.
We currently recommend to disable hardware occlusion queries. Go to Project Settings > Rendering > Culling and deselect Occlusion Culling.
UNREAL ENGINE 5.1 DEFERRED RENDERING
This is a step-by-step guide for setting up your project using Deferred rendering (including Lumen and Nanite)
Note: As Epic Games does not officially recommend to use this method for VR, even though it is possible, we highly recommend using Nvidia RTX 3080ti GPU at minimum, and using 3090ti and 4000 generation GPUs would be even better.
Note: This approach should be considered as an Experimental and not production ready yet.
To set up the project to use the latest features of ue5.1, follow these instructions:
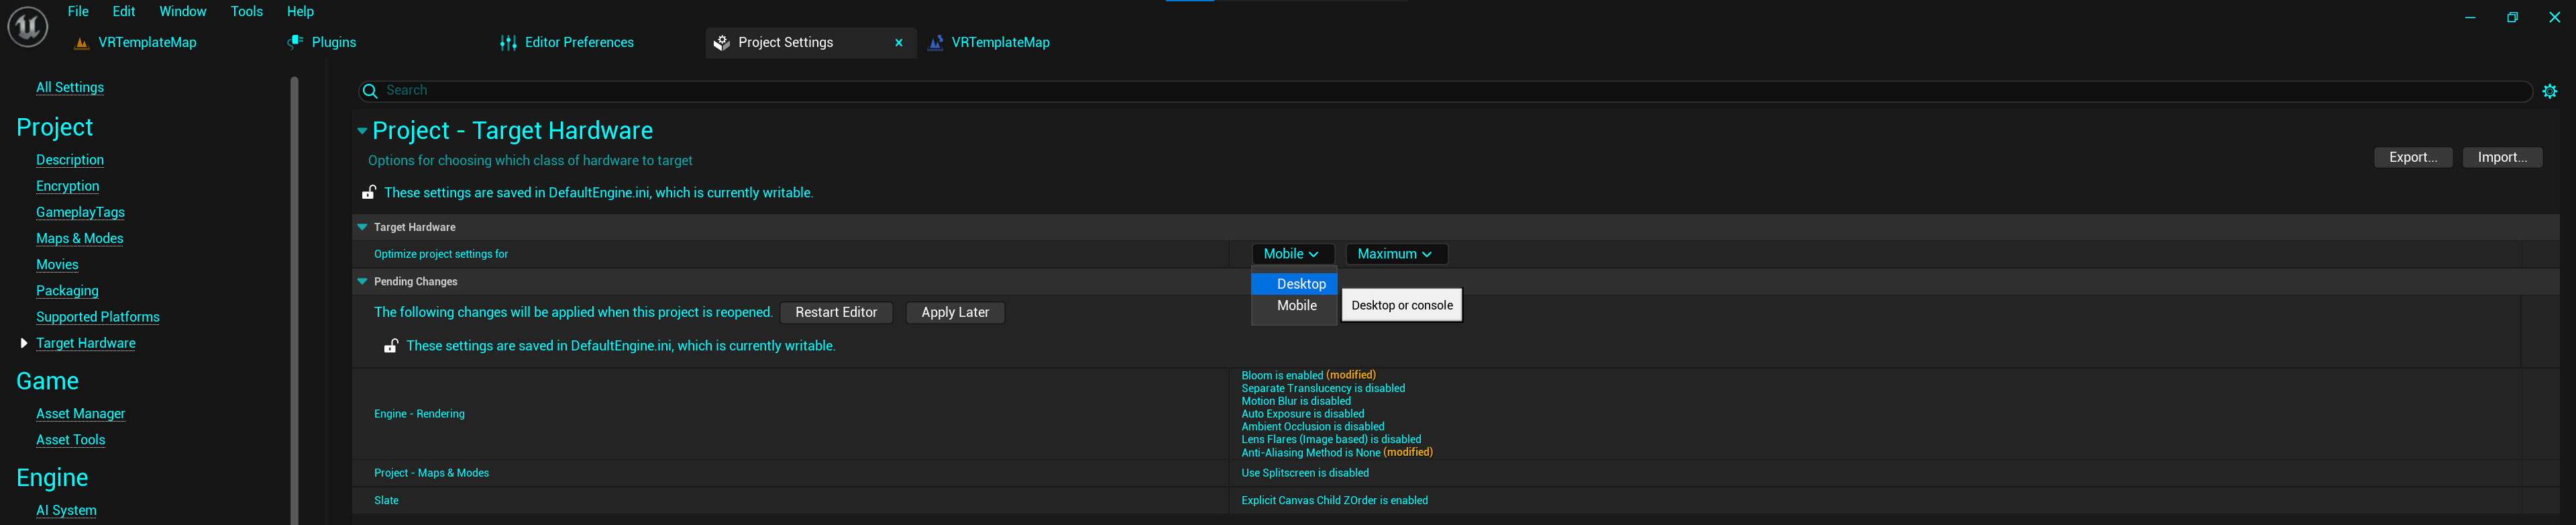
1.Go to Project Settings > Project > Target Hardware, and select Desktop and Maximum from the drop-down list. Click Restart Editor.
2.After the restart it will take some time for the editor to recompile the shaders.

3.Next, set up the rendering settings for the project: go to Project Settings > Engine > Rendering.
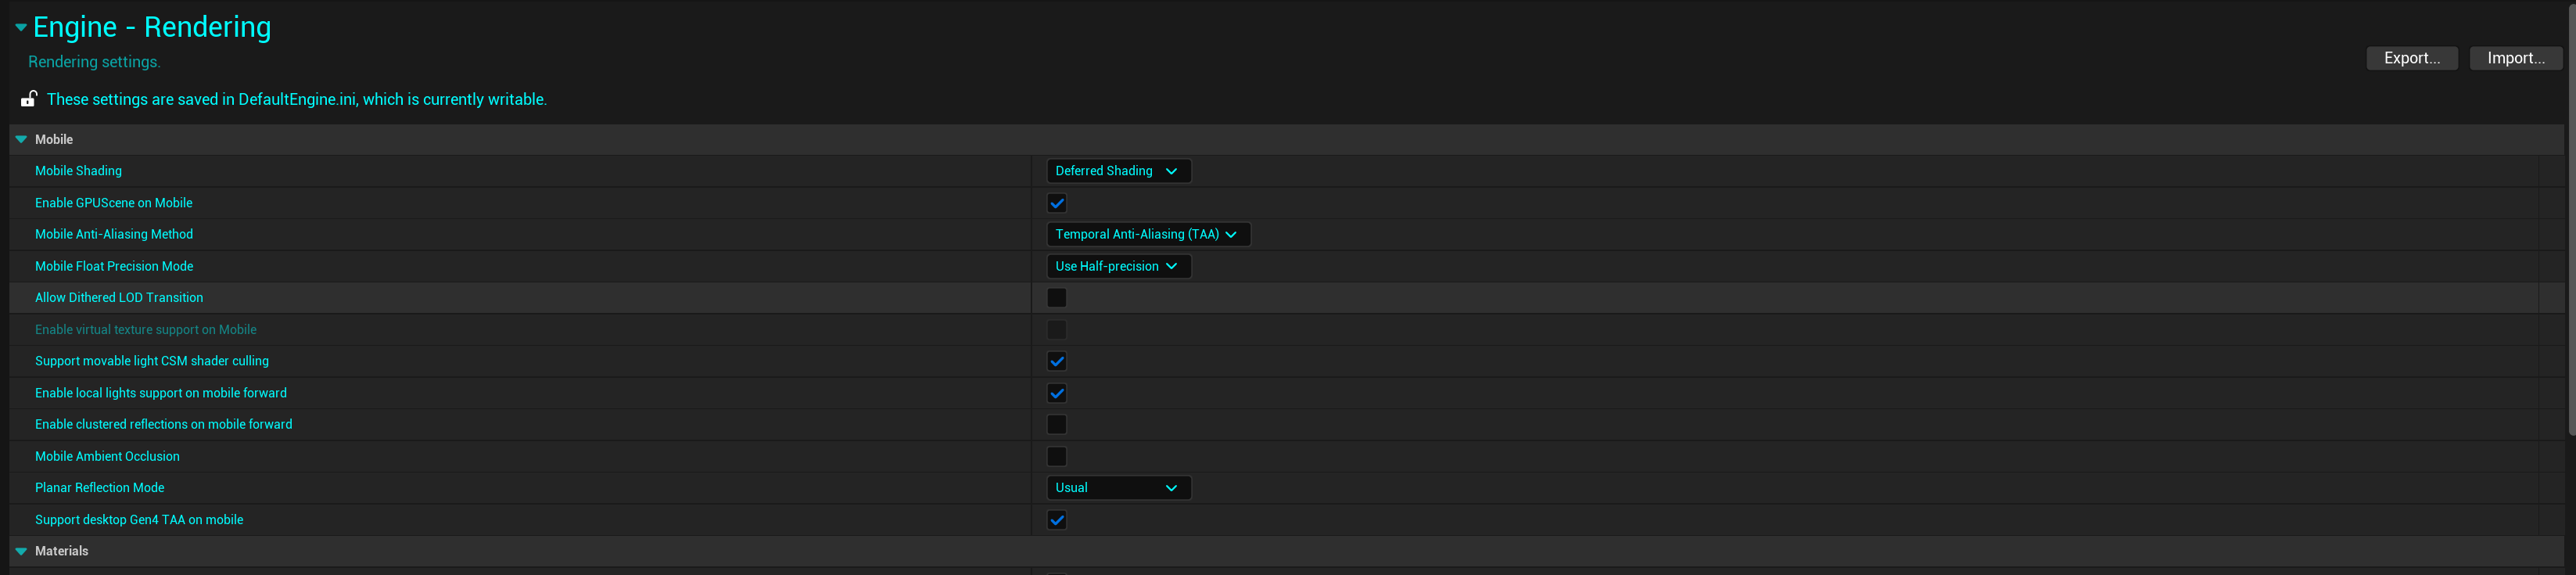
4.Enable virtual textures.

5.Disable Forward Shading.

6.Disable Allow Static Lighting.

7.Enable Nanite.

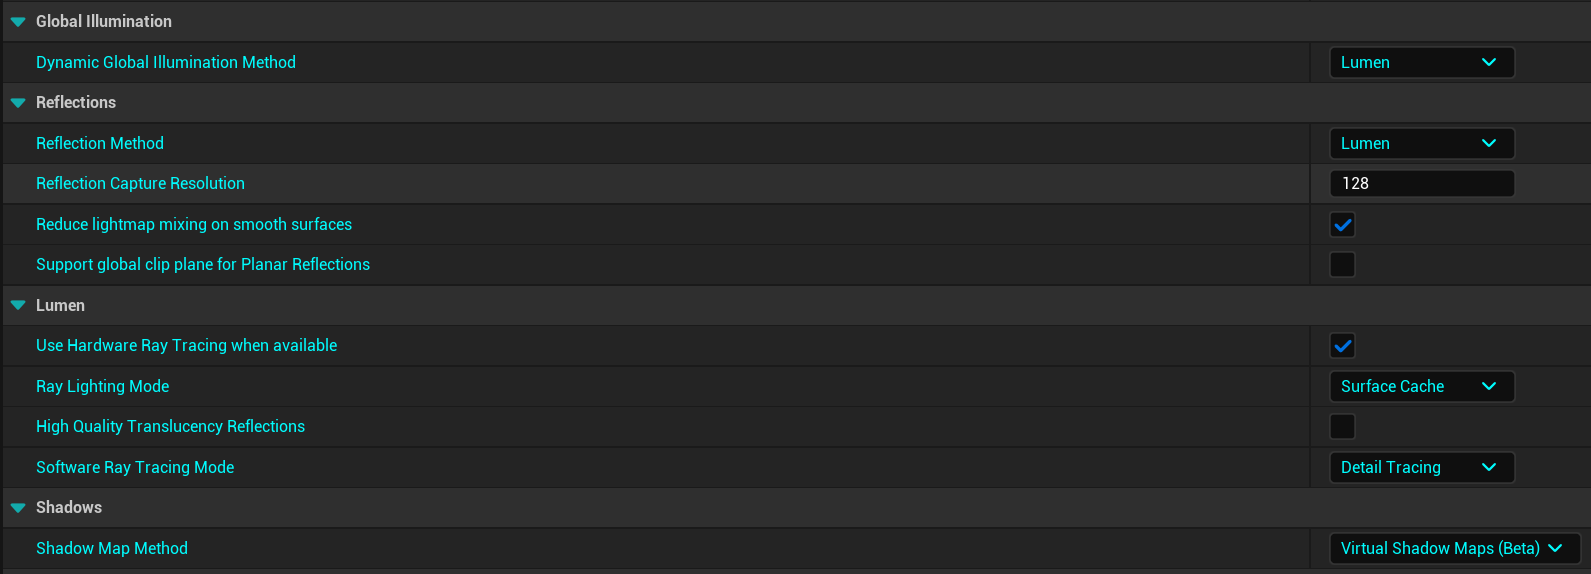
8.Enable Hardware Ray Tracing, and to create skin cache, click Yes on the opened window.
(Test this setting depending on the project.)

9.Enable Use Hardware Raytracing when available.
(Test this setting depending on the project.)

10.Enable Instanced Stereo.
Note: Instanced Stereo Rendering may cause glitches and/or flickering on Nanite meshes.
Work-around: Disable Instanced Stereo > restart > enable Instanced Stereo > restart = no flickering.

11.Disable all the post process features,set Auto Exposure to Manual and Anti-Aliasing Method to TSR.
(Experiment with this setting depending on the project.)

12.Disable Separate Translucency.
(Experiment with this setting depending on the project.)

13.Experiment with different combinations of these settings to find an optimal quality vs performance settings according to your project.
14.Restart the project.

15.Depending on the size of your project it will take some time for UE5.1 to compile the shaders.

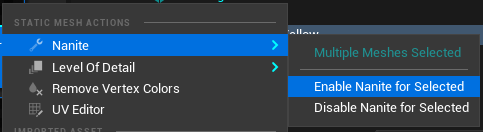
16.Apply Nanite to all of the meshes in the scene.11.35 20/12/202211.35 20/12/2022
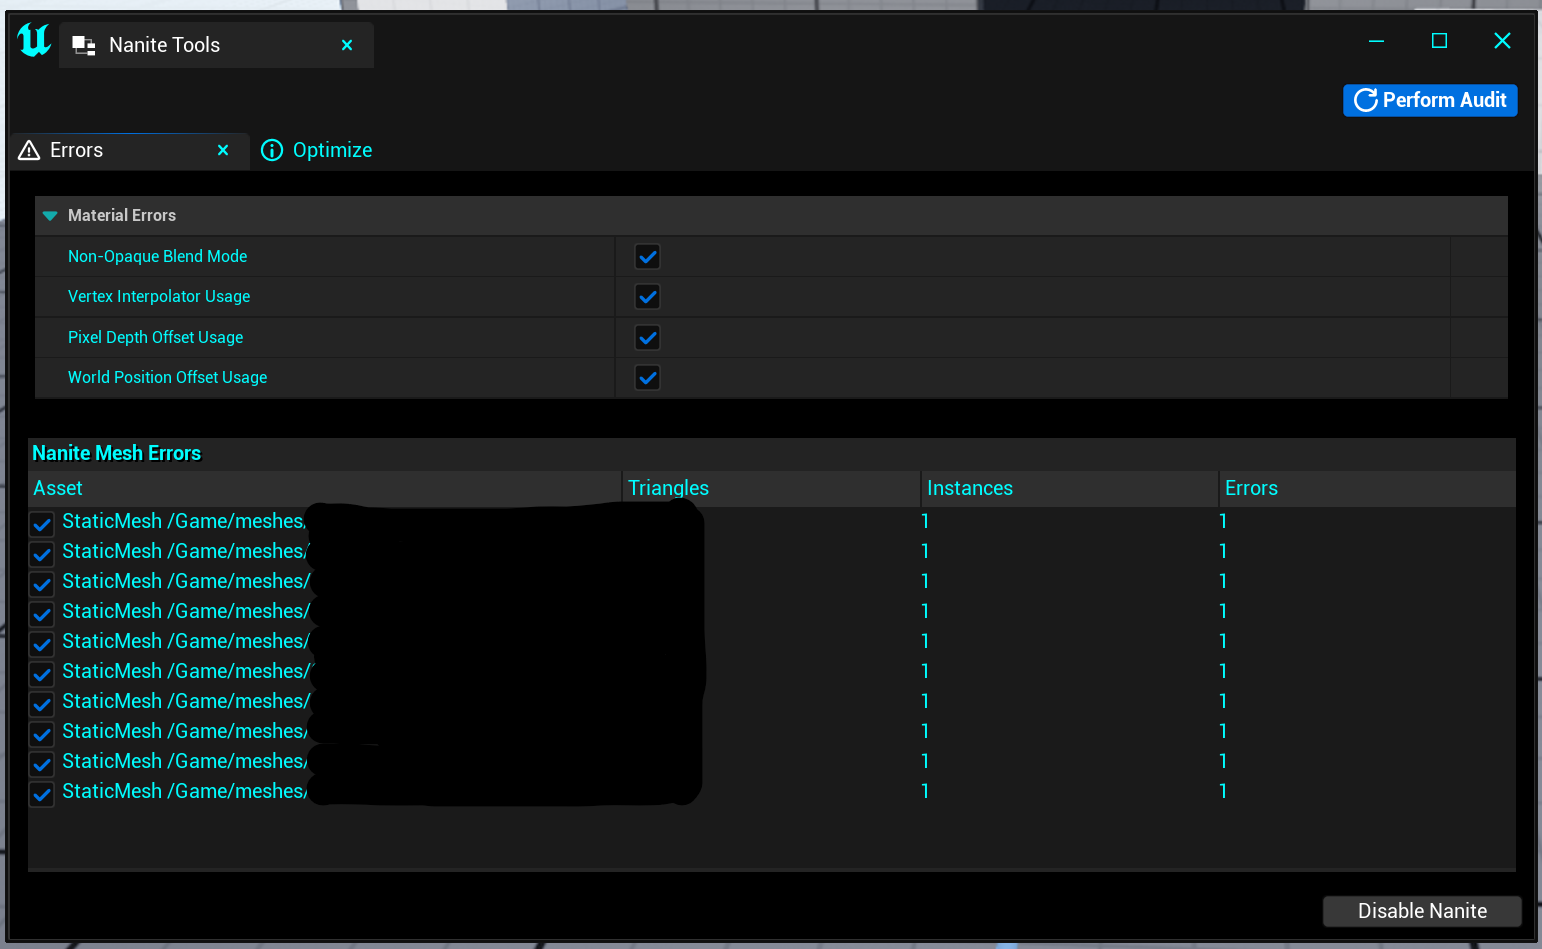
17.Additionally, open Nanite Tools.
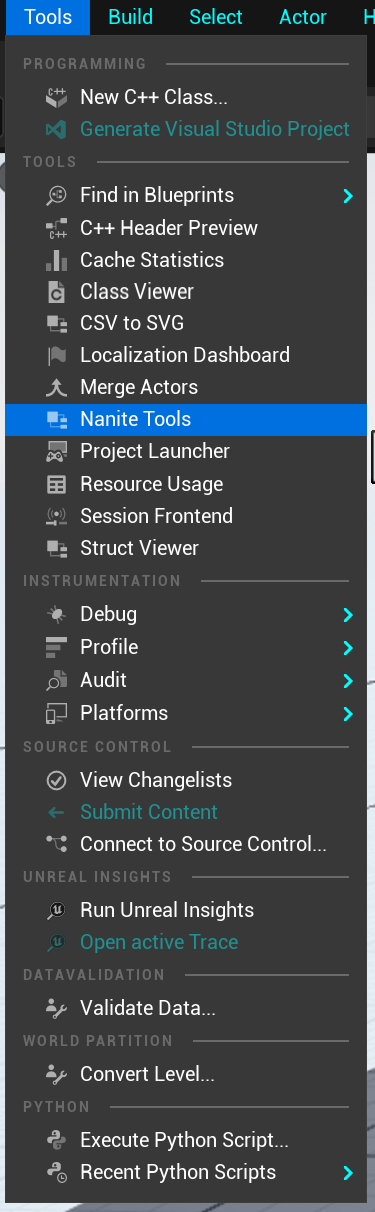
Disable the unsupported meshes with transparent materials on them.
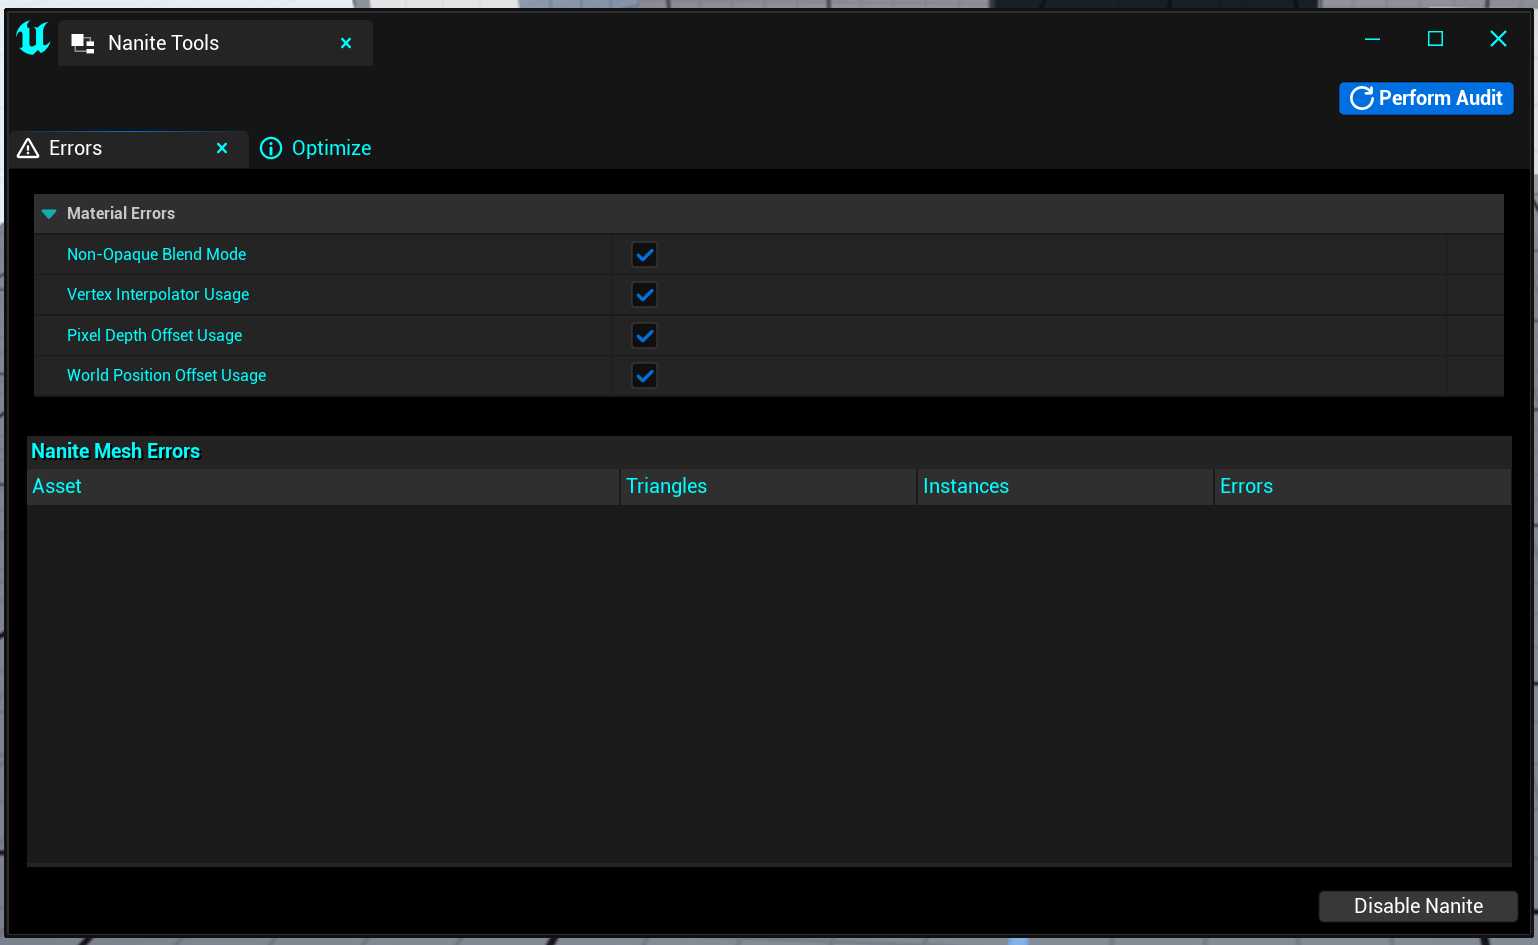
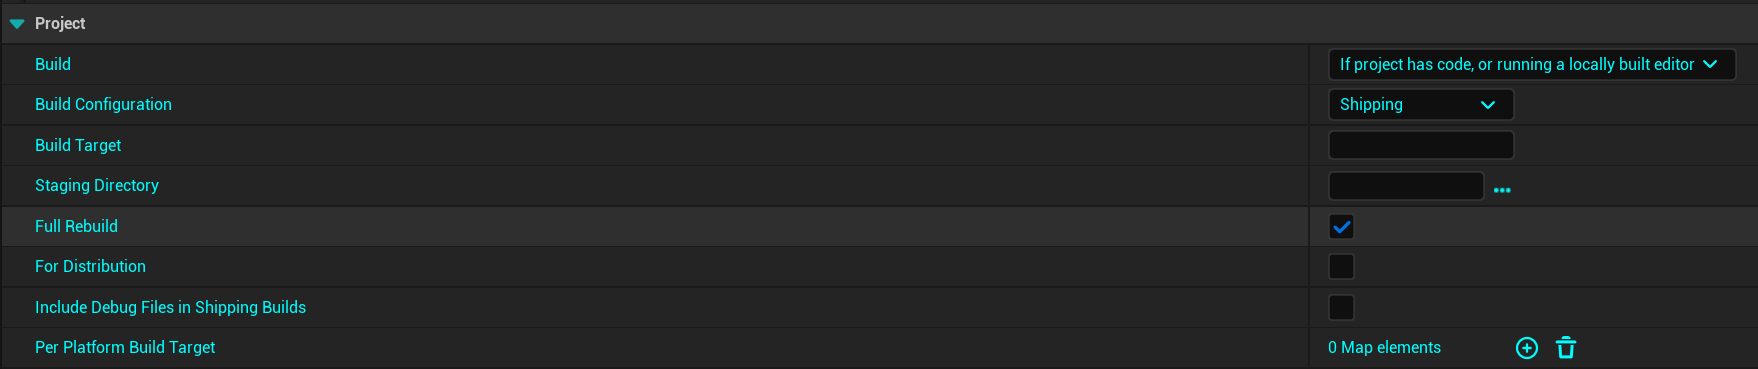
18.To make a build, use the following settings in Project Settings > Packaging: set Build Configuration to Shipping and enable Full Rebuild.
19.All the Lights should be set to Movable
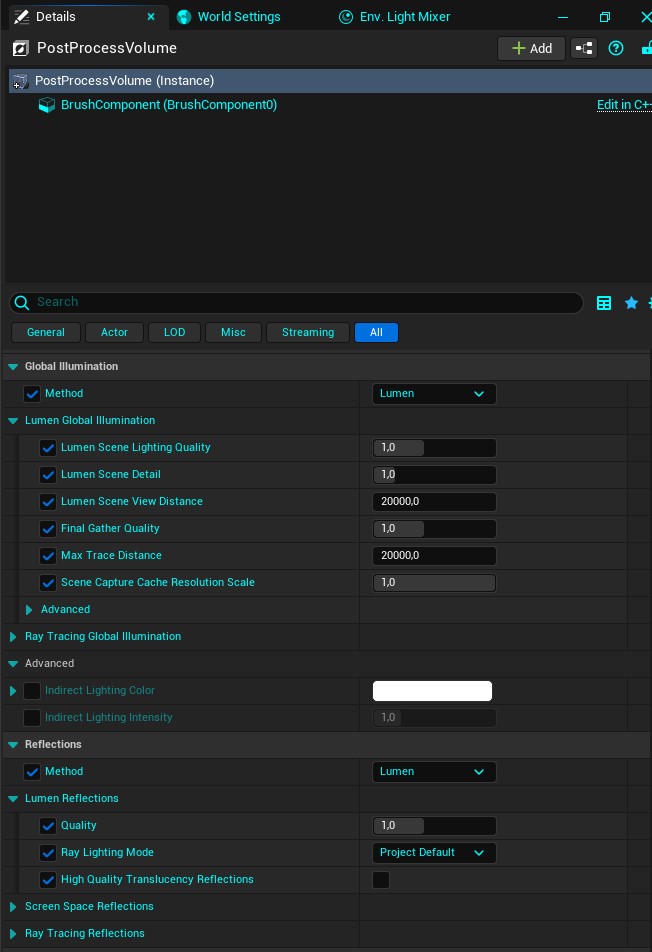
20.Control all Lumen settings from Post Process Volume
(Experiment with this setting depending on the project.)