Unreal Examples
Note: you are currently viewing documentation for a beta or an older version of Varjo
Examples on this page cover tracked controller usage, headset button access, and eye tracking. Make sure to copy the example to your project before modifying it. These examples are constantly updated, and any changes might be overwritten.
Note: In order to successfully use all the example features, you need to have your Varjo headset connected.
Running an example project
- Create a folder in the preferred place (for example C:\sources) where you want to clone the Varjo Example project. Clone the VarjoUnrealExamples github repository.
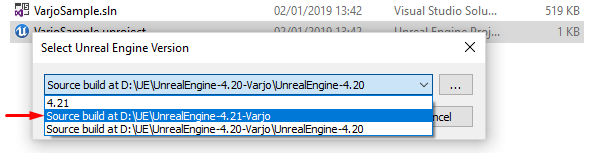
- Right-click on the VarjoSample.uproject file in VarjoUnrealExamples\VarjoSample, select Switch Unreal Engine version… and select the engine folder compiled by you from the list.
- Open the project by double-clicking on the .uproject file.
- Select VR Preview from the play menu.
- Now you should see the scene inside the Varjo headset.
- When controllers are on, paired, and tracking, they should be visible in their correct positions.
- The battery level status of a controller is shown as an icon on the controller surface.
Controller usage example
This example shows you how to use the VR controller for interacting with the environment (picking up and releasing objects). You can access the blueprint of the example under Content > VarjoContent > Blueprints.
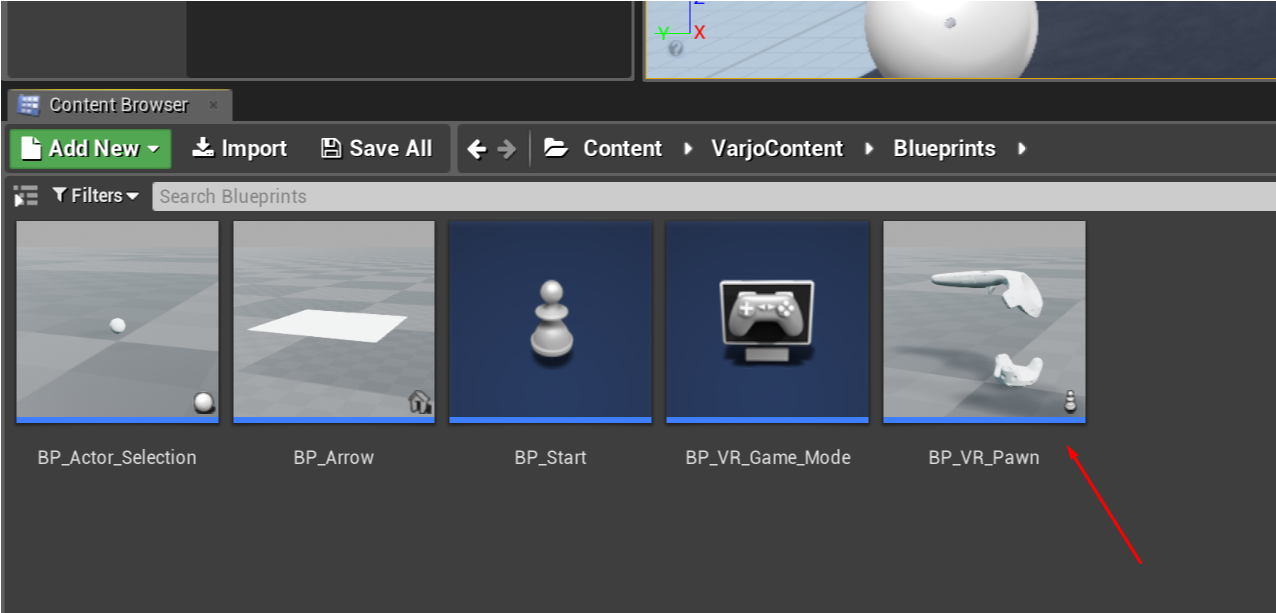
Double-click the BP_VR_Pawn blueprint class to preview the example of the implementation.
Headset button access example
The Application button on the Varjo headset is meant for interacting with VR apps. You can freely choose what this button does when using your application.
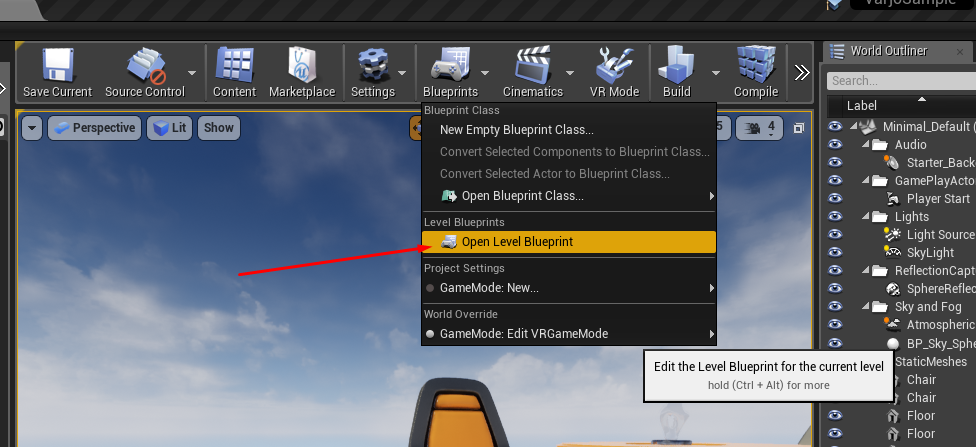
This example shows how to record the presses from the Application button for your application. You can access the logic behind it by selecting Blueprints > Open Level Blueprint.
This example will start the eye tracking calibration if it is enabled in the settings when pressing the Varjo headset Application button.
Gaze tracking example
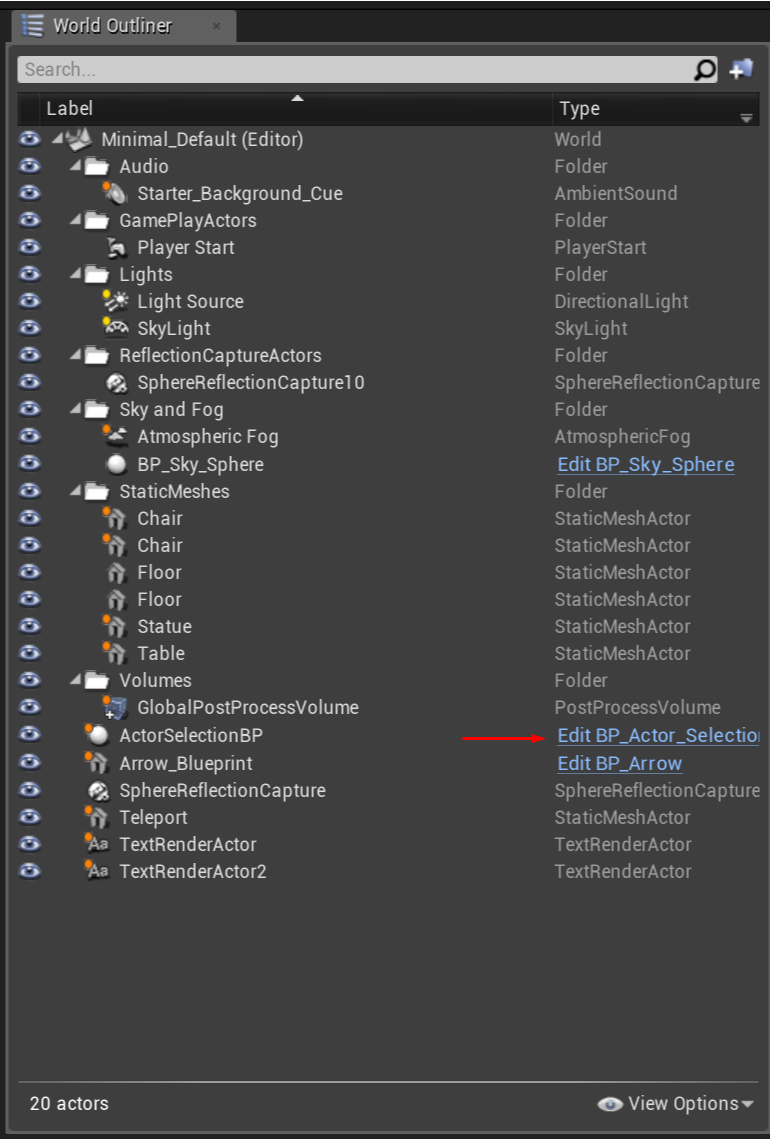
This example shows how to request eye tracking calibration and use eye tracking. The blueprint logic used for the gaze interaction can be found from the BP_Actor_Selection:
Mixed Reality example
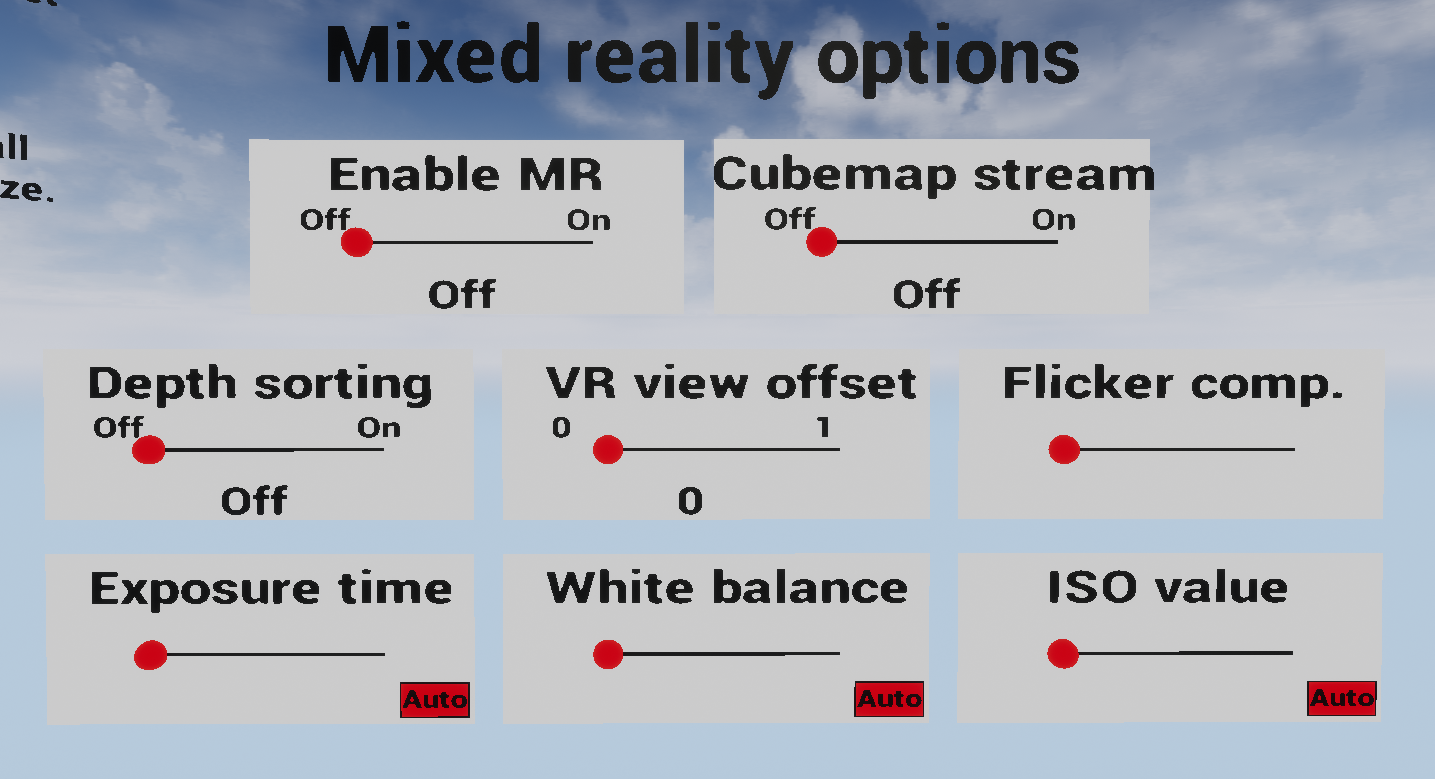
In the MR example there are four main features shown:
- Enabling the MR cameras, which will replace the sky with the video pass-through image
- Depth sorting (you can occlude virtual objects with objects that are closer to you, i.e. your hands)
- Changing video pass-through camera properties (exposure, white balance, etc.)
- Reflection cubemap streaming (two virtual objects on the table with reflective surfaces would reflect real world around user)
For all of them there are GUI switches floating in the air in the scene.
For each one of those switches there is a blueprint file in Content/VarjoContent/Blueprints folder. Those blueprints will show the usage of the functions provided by Varjo plugin.
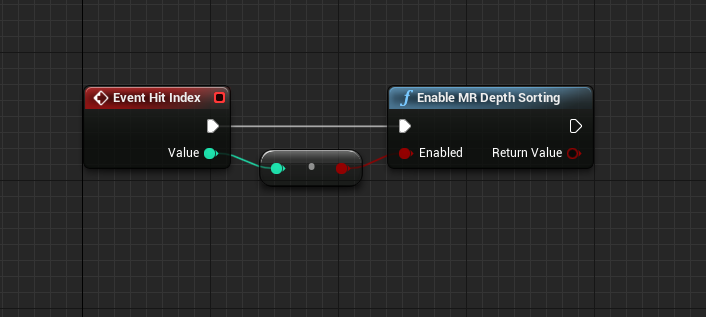
Event Hit Index in every switch blueprint is connected to the switch’s corresponding to specific Varjo function.
Chroma key example
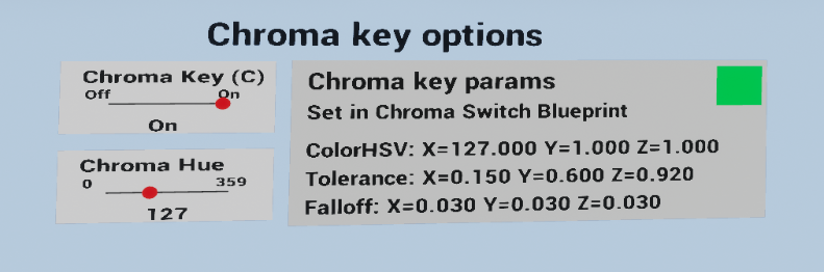
In the Chroma key example you can mix VR and MR using a specified color in MR. You will need to enable MR and have a solid-colored surface to use with chroma Key. The GUI has two sliders and a parameter box. The chroma key configuration must be locked before parameters can be changed.
- Chroma Key (C) lets you switch the effect on/off. You may also use keyboard key C for switching.
- Chroma Hue changes the color that is keyed into VR from MR. Chroma key must be enabled to change hue.
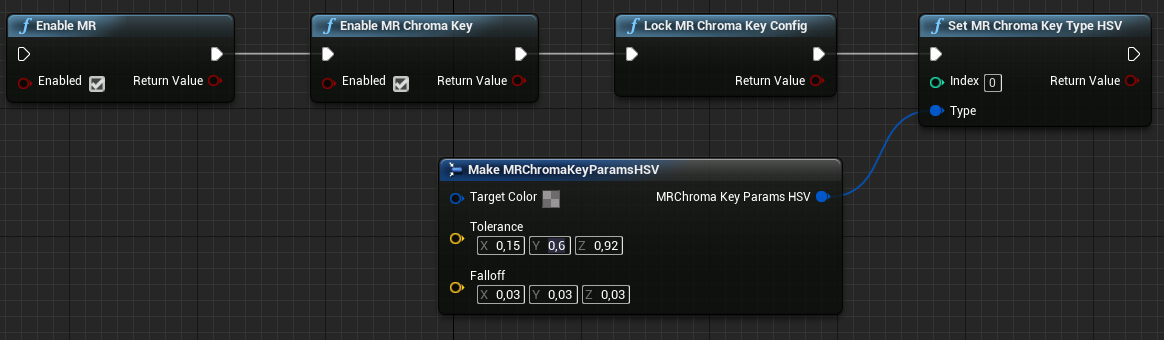
- The parameter box shows the parameters in use. You may edit the initial values in Chroma switch blueprint.
To use Chroma Key in your own projects, enable it and then set the params. Please refer to Chroma key docs for more information.
Varjo Tracker example
In the Varjo tracker example, you can see how Varjo markers are tracked in the camera view. Additionally, you can check that your marker sizes are printed correctly – if they are not then the overlay and the marker would not align correctly. Please refer to the printing instructions before printing.
Submit depth toggle allows to enable positional timewarp for VR applications. It is unrelated to Varjo Markers functionality.
![]()
Blueprint for UI can be found in Content/VarjoContent/Blueprints/ObjectMarker_Switch_Blueprint.uasset
![]()
Blueprint for spawning and destroying markers can be found in Content/VarjoContent/Blueprints/BP_VR_Pawn.uasset
![]()
Please refer to Varjo Markers page for more information.