Developing without the Varjo headset
Note: you are currently viewing documentation for a beta or an older version of Varjo
Whether you are waiting for the delivery of your Varjo headset, or if you want to test your development skills, you can begin development before receiving the headset. This section will allow you to test your project without the device itself. Please note that some functionalities, such as interactions and eye tracking, cannot be tested without the device.
Viewing the compositor window
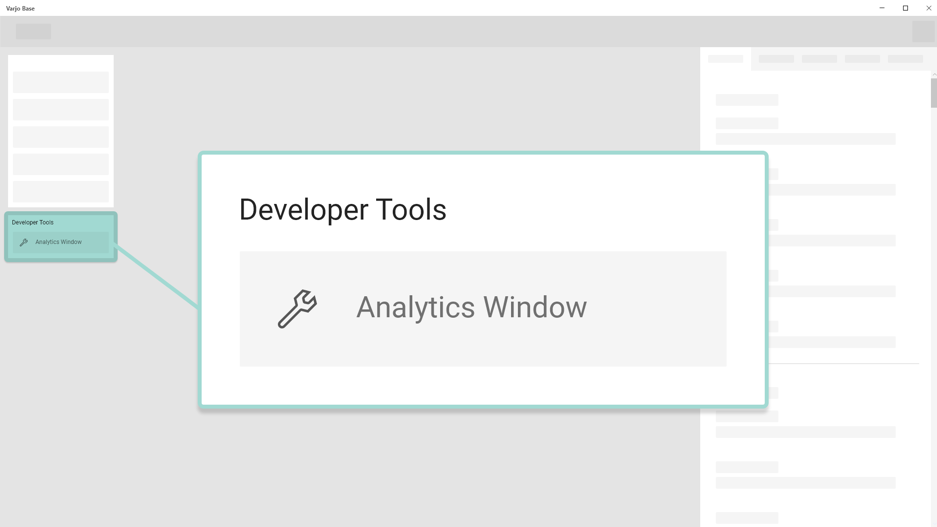
In Varjo Base, under the Developer tool choose Analytics window.
This will open up the Varjo compositor window on your computer.
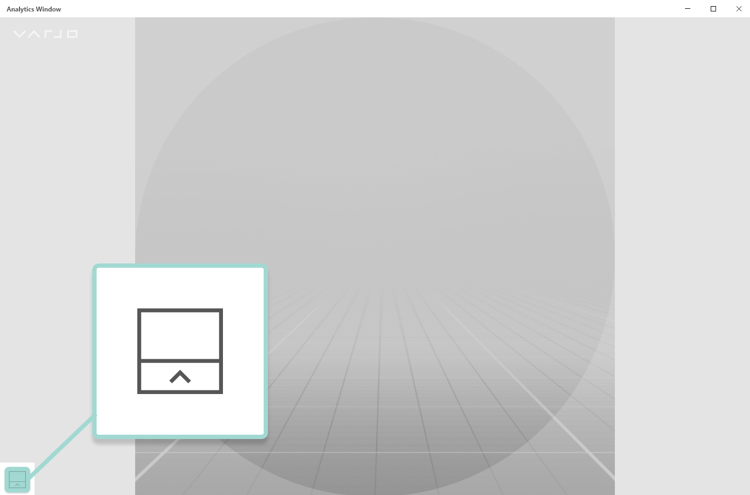
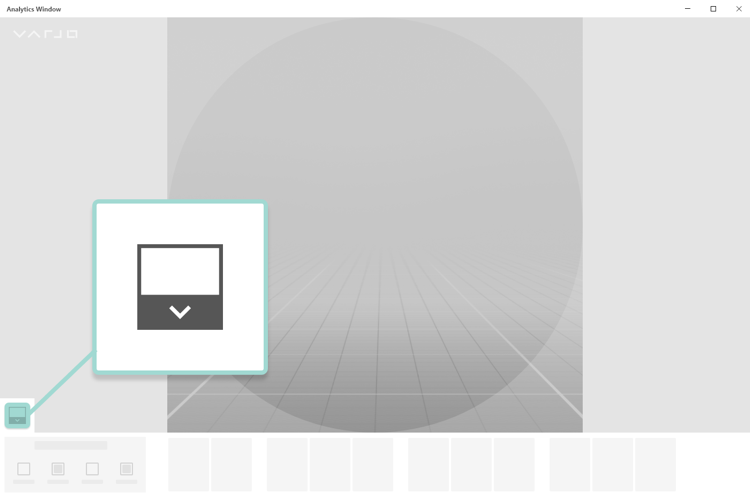
In the compositor window, rendering is initialized with a fixed number of viewports. You can change the amount viewports using controls located at the bottom of the compositor window.
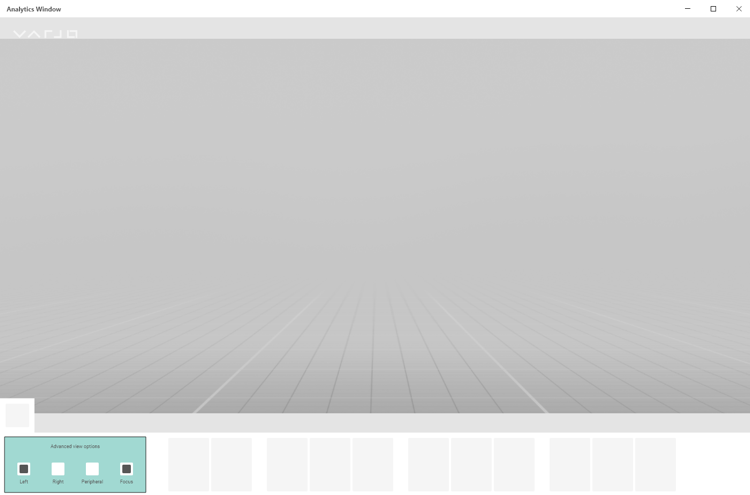
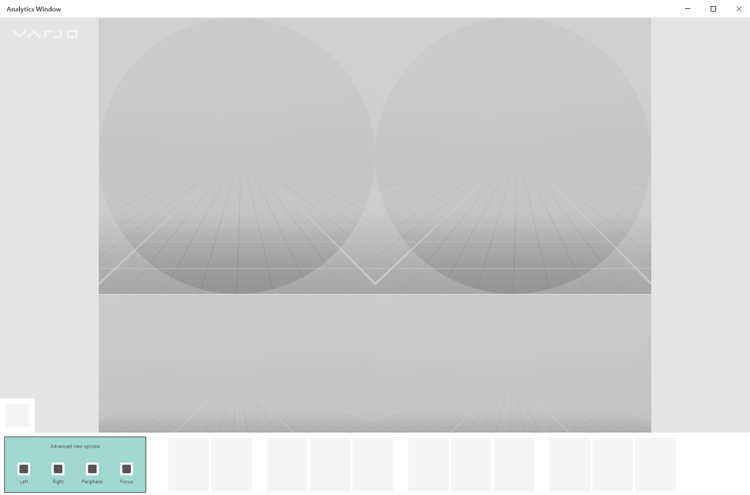
Controls also allow you to visualize the eye tracking target (if such functionality is present in your application), record screen, and take screenshots.
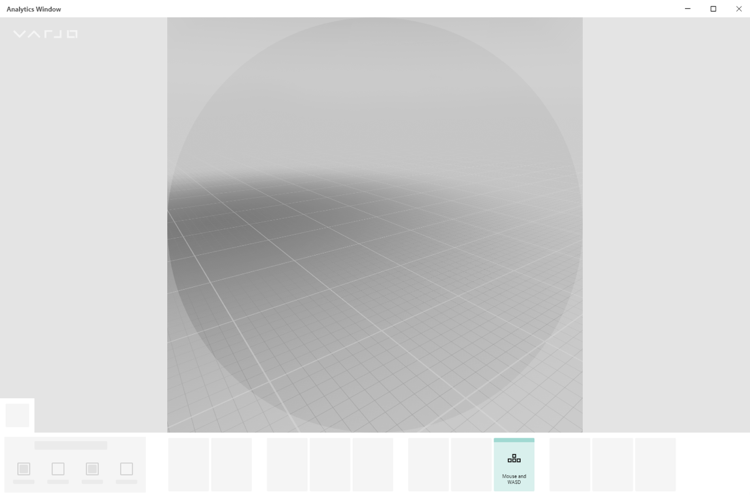
Starting from VarjoBase 1.4 users can emulate movement of the headset without the actual headset. Click the Mouse and WASD button to enable this function. You can rotate the view by clicking and dragging mouse in the compositor view, move in space with the WASD keys, and spin with the Q and E keys.
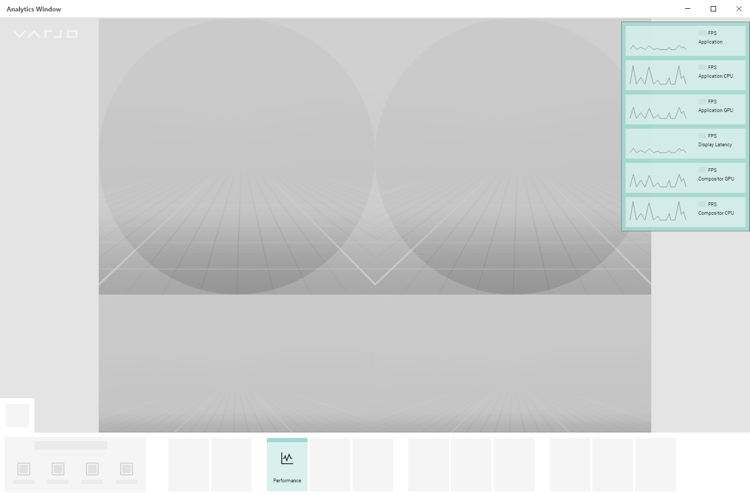
You can see the live performance of your application by turning on Performance overlay by clicking on the Performance button at the bottom.
Starting from VarjoBase 2.2 you can simulate all the features of Varjo headsets in the software, which allows to begin your development even before you could get your hands on the device. More than that, you can simulate how XR-1 Developer Edition would behave, even though you have other Varjo device. You can open simulation settings by clicking Simulate button. From the menu in the top right corner you can select simulated headset.
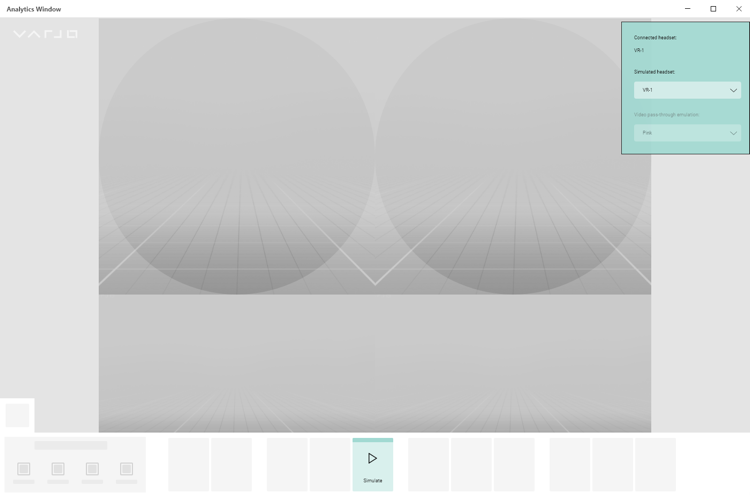
When selecting XR-1 Developer Edition from simulated device list, you would see additional settings appearing. Those settings apply only to XR-1, since it has video pass-through capabilities. However, since it is an emulation of the headset you couldn’t really see the real-world view. Instead you can select a color from the list of Video pass-through emulation – predefined colors are pink and black. Alternatively, you could select an image that would be used for video pass-through emulation – it can be any .png/.jpeg/.bmp/.bin file. We recommend you use image with a resolution of at least 1000 by 1000 pixels for visual clarity. In order to test video pass-through click on the Video pass-through button on the bottom tool bar. You can toggle video pass-through mode anytime you need during your development.